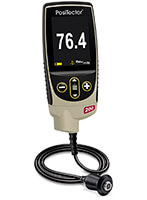
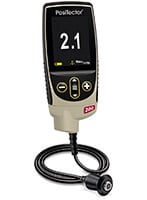
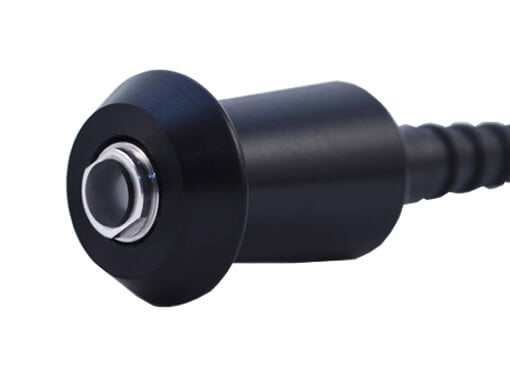
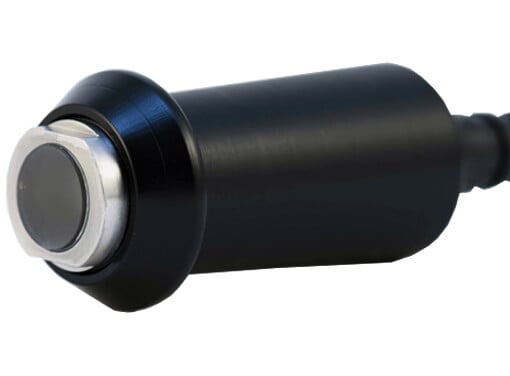
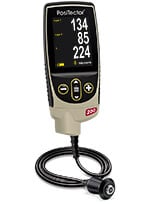
DeFelsko PosiTector 200

Coating Thickness Gages for Non-Metal Substrates

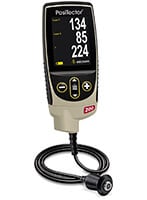
Non-destructively measures a wide variety of applications using proven ultrasound technology. Measure coating thickness over wood, concrete, plastic and more. Advanced models measure up to 3 layers with graphics.

  • Ready to measure – no calibration adjustment required for most applications
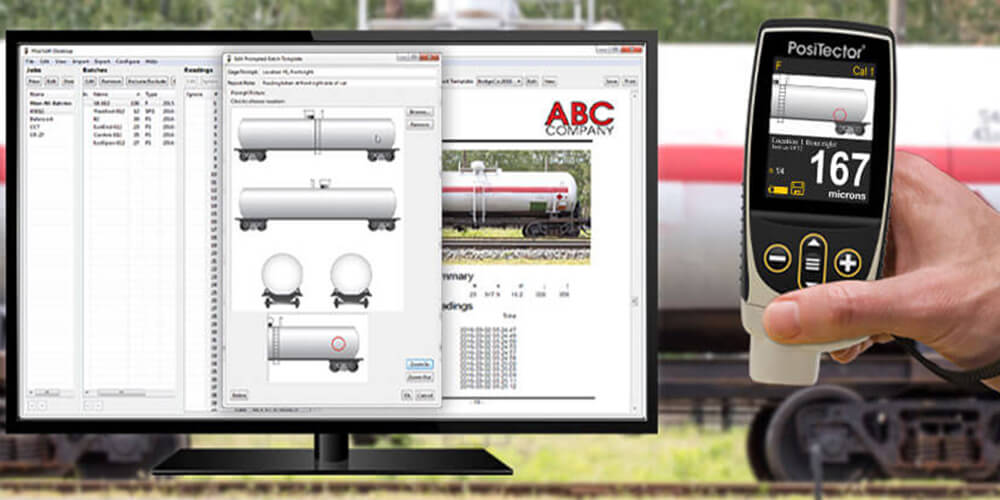
  • NEW Larger 2.8" impact resistant color touchscreen with redesigned keypad for quick menu navigation
  • NEW Weatherproof, dustproof, and water-resistant—IP65-rated enclosure
  • PosiTector interchangeable platform – attach any PosiTector probe to a single gage body
  • USB, WiFi, and Bluetooth connectivity to PosiSoft PC, Mac, and Smartphone software
  • Certificate of Calibration showing traceability to NIST or PTB included (Long Form)

Conforms to ASTM D6132 and ISO 2808


line
DeFelsko PosiTector 200 Standard Ultrasonic Coating Thickness Gages: 3 Models Available
line

DeFelsko 200 B1 PosiTector Coating Thickness Gages DeFelsko 200 C1 PosiTector Coating Thickness Gages DeFelsko 200 D1 PosiTector Coating Thickness Gages
APPLICATION APPLICATION APPLICATION
Polymer coating on wood, plastic, etc. Coatings on concrete, fiberglass, etc. Thick, soft coatings like polyurea, asphaltic neoprene, very thick polymers
MEASUREMENT RANGE* MEASUREMENT RANGE* MEASUREMENT RANGE*
13 to 1000 m
0.5 to 40 mils
50 to 3800 m
2 to 150 mils
50 to 7600 m
2 to 300 mils
ACCURACY ACCURACY ACCURACY
± (2 m + 3% of reading)
± (0.1 mils + 3% of reading)
± (2 m + 3% of reading)
± (0.1 mils + 3% of reading)
± (20 m + 3% of reading)
± (1 mils + 3% of reading)
CERTIFIED THICKNESS STANDARD CERTIFIED THICKNESS STANDARD CERTIFIED THICKNESS STANDARD
STDA3 STDP6 STDP1

*Range limits apply to polymer based coatings only. D probe polyurea range is 50 to 5000 m (2 to 200 mils).-


line
DeFelsko PosiTector 200 Advanced Ultrasonic Coating Thickness Gages: 3 Models Available
line

DeFelsko 200 B3 PosiTector Coating Thickness Gages DeFelsko 200 C3 PosiTector Coating Thickness Gages DeFelsko 200 D3 PosiTector Coating Thickness Gages
APPLICATION APPLICATION APPLICATION
Polymer coating on wood, plastic, etc. Coatings on concrete, fiberglass, etc. Thick, soft coatings like polyurea, asphaltic neoprene, very thick polymers
MEASUREMENT RANGE* MEASUREMENT RANGE* MEASUREMENT RANGE*
13 to 1000 m
0.5 to 40 mils
50 to 3800 m
2 to 150 mils
50 to 7600 m
2 to 300 mils
ACCURACY ACCURACY ACCURACY
± (2 m + 3% of reading)
± (0.1 mils + 3% of reading)
± (2 m + 3% of reading)
± (0.1 mils + 3% of reading)
± (20 m + 3% of reading)
± (1 mils + 3% of reading)
MINIMUM INDIVIDUAL LAYER THICKNESS** MINIMUM INDIVIDUAL LAYER THICKNESS** MINIMUM INDIVIDUAL LAYER THICKNESS**
13 m
0.5 mils
50 m
2 mils
500 m
20 mils
CERTIFIED THICKNESS STANDARD CERTIFIED THICKNESS STANDARD CERTIFIED THICKNESS STANDARD
STDA3 STDP6

STDP1

*Range limits apply to polymer based coatings only. D probe polyurea range is 50 to 5000 m (2 to 200 mils).
**For multiple layer applications only. Dependent on material to be tested.


line
DeFelsko PosiTector 200 Probe Only Ultrasonic Coating Thickness Gages: 3 Models Available
line

PosiTector gage bodies are compatible with the full range of PosiTector 6000, 200, DPM, SPG, RTR, SST, SHD and UTG probes.

DeFelsko PRB200B PosiTector Coating Thickness Gages DeFelsko PRB200C PosiTector Coating Thickness Gages DeFelsko PRB200D PosiTector Coating Thickness Gages
APPLICATION APPLICATION APPLICATION
Polymer coating on wood, plastic, etc. Coatings on concrete, fiberglass, etc. Thick, soft coatings like polyurea, asphaltic neoprene, very thick polymers
MEASUREMENT RANGE* MEASUREMENT RANGE* MEASUREMENT RANGE*
13 to 1000 m
0.5 to 40 mils
50 to 3800 m
2 to 150 mils
50 to 7600 m
2 to 300 mils
ACCURACY ACCURACY ACCURACY
± (2 m + 3% of reading)
± (0.1 mils + 3% of reading)
± (2 m + 3% of reading)
± (0.1 mils + 3% of reading)
± (20 m + 3% of reading)
± (1 mils + 3% of reading)
CERTIFIED THICKNESS STANDARD CERTIFIED THICKNESS STANDARD CERTIFIED THICKNESS STANDARD
STDA3 STDP6

STDP1

*Range limits apply to polymer based coatings only. D probe polyurea range is 50 to 5000 m (2 to 200 mils).


line
DeFelsko PosiTector 200 Ultrasonic Coating Thickness Gages Probe Order Guide
line

PosiTector 200 Probes B C D
 
Probe Model
(Order Code)
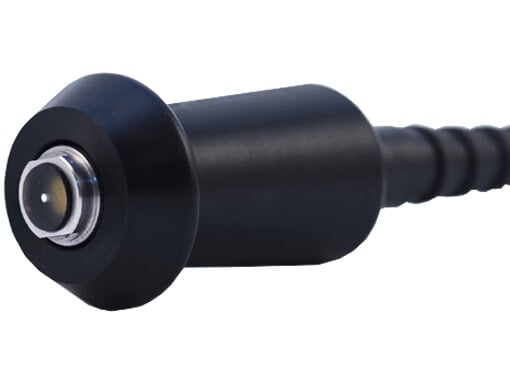
PRB200B PRB200C PRB200D
TypicalApplications Polymer coating onwood, plastic, etc. Coatings onconcrete, fiberglass,etc. Thick, soft coatings such aspolyurea, asphalitic neoprene,very thick polymers,etc.
MeasurementRange* 13 - 1000 µm
0.5 - 40 mils
50 - 3800 µm
2 - 150 mils
50 - 7600 µm
2 - 300 mils
Accuracy ± (2 µm + 3% of reading)
± (0.1 .mil + 3% of reading)
± (2 µm + 3% of reading)
± (0.1 .mil + 3% of reading)
± (20 µm + 3% of reading)
± (1 mil + 3% of reading)
Minimum LayerThickness** 13 µm
0.5 mil
50 µm
2 mils
500 µm
20 mils
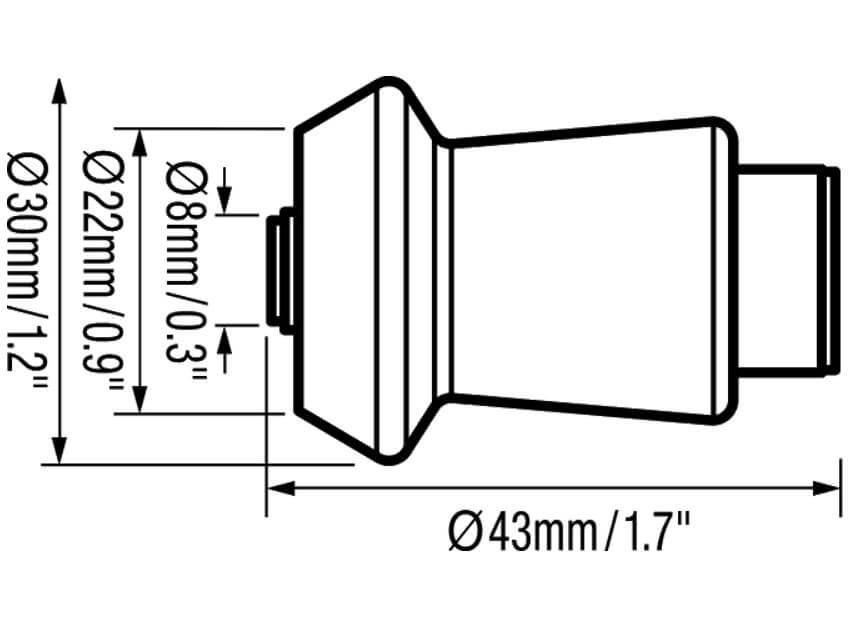
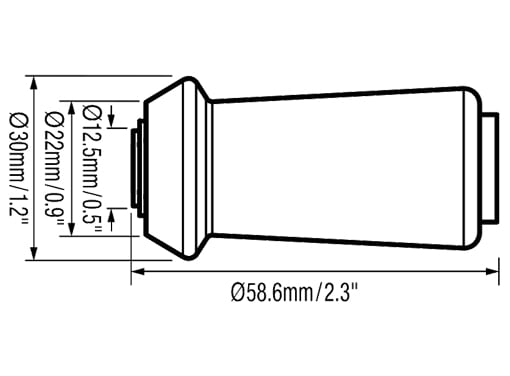
Probe Dimensions

* Range limits apply to polymer based coatings only. D probe polyurea range is 50 to 5000 µm (2 to 200 mils)
** For multiple layer applications only. Dependent on material to be tested.


lineDeFelsko PosiTector Gage Bodies: Feature Comparison Chartline

Feature Comparison Chart DeFelsko Positector 6000 Standard Body
Standard
DeFelsko Positector 6000 Advanced Body
Advanced
NEW Larger 2.8" impact resistant color touchscreen with redesigned keypad for quick menu navigation
NEW On-gage help explains menu items at the touch of a button
NEW Weatherproof, dustproof, and water-resistant - IP65-rated enclosure
NEW Ergonomic design with durable rubberized grip
NEW Auto rotating display with Flip Lock
NEW Screen Capture - save 100 screen images for record keeping and review
NEW Up to 30% longer battery life
Reading Storage Capacity 1,000 per probe 250,000 in up to 1,000 batches
Measure the total thickness of a coating system or up to 3 individual layer thicknesses in a multi-layer system ---
Graphics mode with screen capture for detailed analysis of the coating system ---
NEW Prompted Batch Mode - create pre-defined batches with on-screen text and image prompts for each reading ---
Live graphing of measurement data ---
NEW Touchscreen keyboard for quickly renaming batches, adding notes, and more ---
WiFi technology wirelessly synchronizes with PosiSoft.net and downloads software updates ---
Bluetooth 4.0 Technology for data transfer to a mobile device running the PosiTector App or optional portable printer. BLE API available for integration into third-party software ---
Integrate with third-party software, drones, ROVs, PLCs, and robotic devices using several industry-standard communication protocols ---

For use with the: DeFelsko PosiTector 6000DeFelsko PosiTector 200DeFelsko PosiTector SPGDeFelsko PosiTector RTR HDeFelsko PosiTector RTR 3DDeFelsko PosiTector DPMDeFelsko PosiTector IRTDeFelsko PosiTector SST , DeFelsko PosiTector UTGDeFelsko PosiTector SHDDeFelsko PosiTector BHI


line
DeFelsko PosiTector 200 Ultrasonic Coating Thickness Gages Videos
line


PosiSoft Suite of Software
line

Four FREE and unique ways to view and report your PosiTector and PosiTest data. Learn More

  • PosiSoft Desktop
  • PosiSoft.net
  • PosiTector App
  • PosiSoft USB


lineDeFelsko Accessoriesline


Accessories for DeFelsko Inspection Instruments - Online Catalog


F.A.Q.

Do your instruments require any formal training for use? Do you offer ‘demo’ models?

No. Our instruments are designed for simple operation, feature easy-to-use menus, both full and quick instruction manuals, and helpful videos. In lieu of demonstration models, we provide unlimited technical support via telephone and/or email, and a limited 30-day money back guarantee.

Is the DeFelsko PosiTector 200 calibrated at the factory?

The DeFelsko PosiTector 200 arrives fully calibrated and ready to measure. A Long-Form Certificate of Calibration traceable to NIST or PTB is included, which documents actual readings taken by your instrument at our calibration laboratory on standards traceable to a national metrology institute. Beware of ‘Certificates’ or ‘Certificates of Conformance’ offered by competitors. These typically do not include actual instrument readings, and are often insufficient to meet common quality requirements

The DeFelsko PosiTector 200 is factory calibrated to measure most polymer coatings out of the box without calibration or adjustment. If required, a simple gage adjustment can be made to a coating sample of known thickness as close as possible in composition to the intended application. For best results, the thickness of the sample should be equal to or slightly greater than the maximum expected thickness of the coating to be measured.

Can the DeFelsko PosiTector 200 be used to measure coatings on metal substrates?

In many cases, yes! However, the following should be noted:

  • Metal Substrate Thickness: Because sound travels through metals approximately three times faster than it travels through most protective coatings, substrate thickness will largely determine the suitability of a particular coating thickness application for the DeFelsko PosiTector 200.
  • Gage Adjustment: Adjustment to the DeFelsko PosiTector 200 gage’s Hi Range to eliminate unwanted metal substrate back-wall echoes is typically required for improved measurement repeatability. This process of adjustment is simplified through the use of the DeFelsko PosiTector 200 Advanced gage’s Graphics Mode. Although a DeFelsko PosiTector 200 Standard gage model has the capability to accurately measure single coat applications and a total coating system thickness of multi-layer applications, we strongly recommend the use of a DeFelsko PosiTector 200 Advanced gage model for measurement on metal substrates.
  • Single Coat Applications: A minimum coating thickness of 13µm (0.5 mil) on a flat metal substrate with a minimum thickness of 1.25mm (50 mils) is usually required.
  • Multi-Layer Applications –
  1. Total thickness: In many circumstances, the total thickness of a multi-layer coating system over metal can be reliably measured. As in single coat applications, a minimum total coating system coating thickness of 13µm (0.5 mil) on a flat metal substrate with a minimum thickness of 1.25mm (50 mils) is usually required.
  2. Individual layers: The DeFelsko PosiTector 200 will measure the thickness of individual layers when each layer is thicker than 125µm (5 mils) and the metal substrate is thicker than 6mm (0.25”). A greater difference in the acoustic characteristics of each layer results in a greater likelihood of accurate individual layer measurement.

A PosiTector 6000 probe is generally recommended over a DeFelsko PosiTector 200 probe for measuring coating thickness on metal substrates because –

  • Lower cost
  • Larger selection of probes (none requiring the use of an ultrasonic couplant gel)
  • Greater accuracy
  • Unlike DeFelsko PosiTector 200 probes, adjustment is not required for most protective coating properties
  • Fully conform to international standards for measuring coating thickness over metal

What is couplant?Do I need to use it every time I take a reading?

Couplant is required for every reading in order to propagate ultrasound into the coating. Water is a suitable couplant for smooth coatings. Use the supplied glycol gel for rougher coatings.

Can the DeFelsko PosiTector 200 measure coatings that contain particles or aggregate?

Broadcast epoxy, urethane mortar and other coating systems that contain aggregates or particulate inclusions (silica, quartz flake, concrete, etc.) will present a significant measurement challenge to our ultrasonic DeFelsko PosiTector 200 instrument. This is caused by the tendency of the solid particles to interfere with the ultrasonic impulse and typically results in unreliable thickness readings.

How do I ‘Zero’ the DeFelsko PosiTector 200?

Unlike a magnetic or eddy-current principle gage, an uncoated substrate is not required to Zero the DeFelsko PosiTector 200. Instead, the probe is held in the air away from the substrate when the Zero is performed.

How often should the DeFelsko PosiTector probe be recalibrated?

DeFelsko PosiTector probes include a Certificate of Calibration with no expiry or end date. They have no shelf life, therefore the length of time in the field is not a good indicator for recalibration intervals. Many organizations with quality programs and recertification programs require annual recalibrations, and this is a good starting point for most users. DeFelsko recommends that customers establish calibration intervals based upon their own experience and work environment. Based on our product knowledge, data and customer feedback, a one year calibration interval from the date the instrument was placed in service is a good starting point.