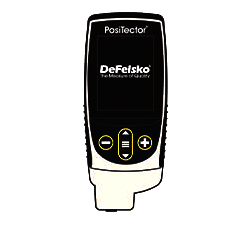
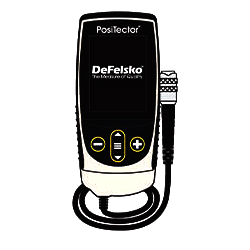
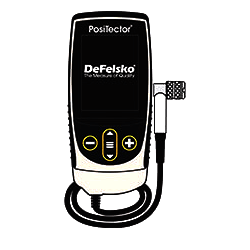
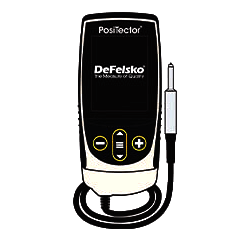
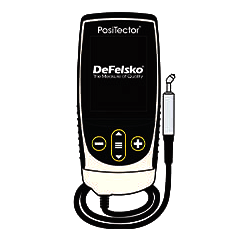
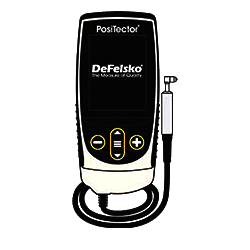
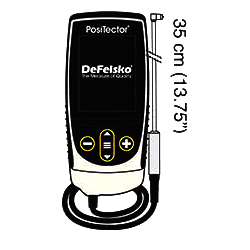
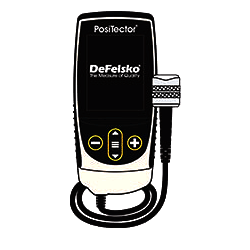
DeFelsko PosiTector 6000

Coating Thickness Gages for ALL Metal Substrates

Rugged, fully electronic coating thickness gauges use magnetic and eddy current principles to measure coating thickness on both ferrous and non-ferrous metals, accurately and quickly

  • Ready to measure - no calibration adjustment required for most applications
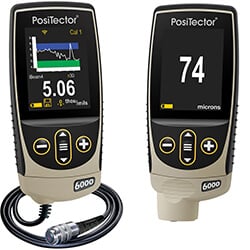
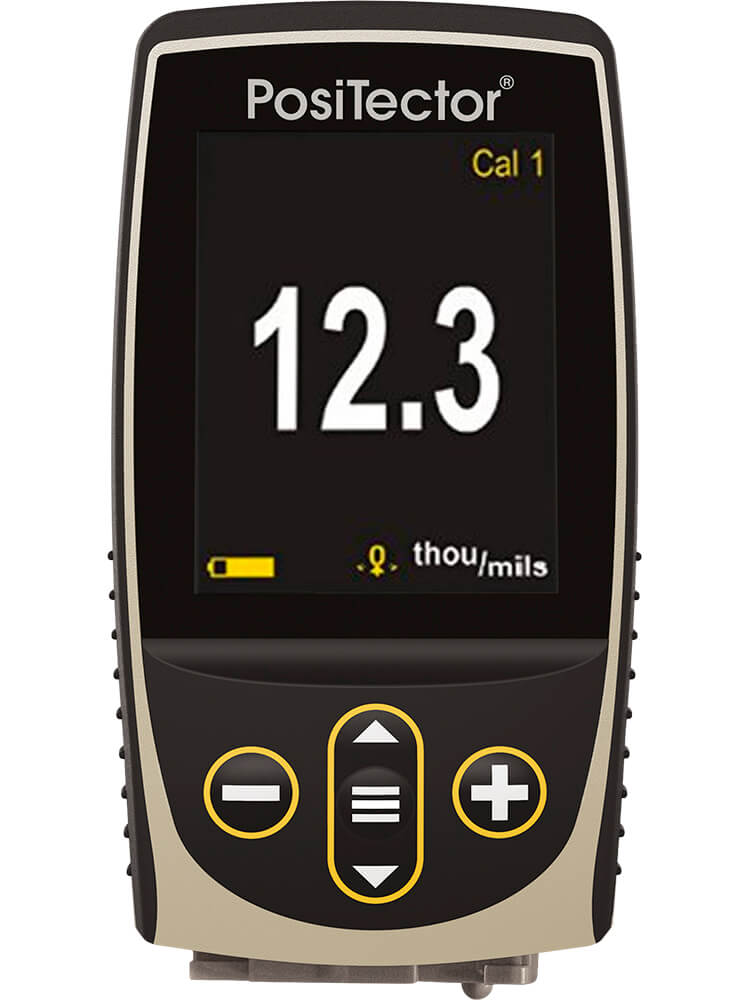
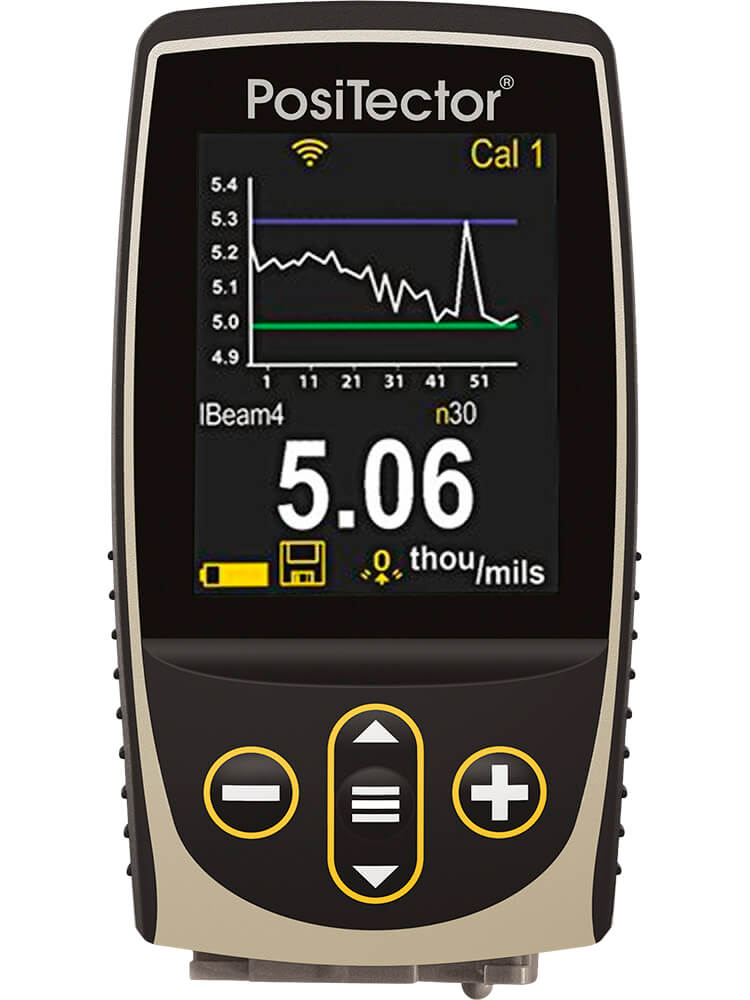
  • NEW Larger 2.8" impact resistant color touchscreen with redesigned keypad for quick menu navigation
  • NEW Weatherproof, dustproof, and water-resistant - IP65-rated enclosure
  • Wear resistant ruby probe tip, for long-lasting calibration
  • PosiTector interchangeable platform - attach any PosiTector probe to a single gage body
  • USB, WiFi, and Bluetooth connectivity to PosiSoft PC, Mac, and Smartphone software
  • Certificate of Calibration showing traceability to NIST or PTB included (Long Form)

Conforms to ISO 2178/2360/2808, ISO 19840, ASTM B244/B499/D1186/D1400/D7091/E376/G12, BS3900-C5, SSPC-PA2, US Navy NAVSEA PPI 63101-000, US Navy NAVSEA 009-32, AS 2331.1.4, AS3894.3-B, and others


line
DeFelsko PosiTector 6000 Coating Thickness Gages: Models Available
line


Our most popular Integral and Cabled probe models90° Regular probe for tight spots Ideal for duplex coating systems Ideal for hot and rugged applica-tionsIdeal for anodized aluminumMicroprobes – Our smallest probes for small parts or hard-to-reach areas Integral and Cabled probes for thick protective coatings; epoxy, rubber, intumescent fireproofing and more
FERROUS Standard
Body
F1 FS1 FRS1 FXS1¹ F0S1 F45S1 F90S1 F90ES1 FT1 FTS1 FTRS1 FKS1 FJS1 FLS1
Advanced
Body
F3 FS3 FRS3 FXS3¹ F0S3 F45S3 F90S3 F90ES3 FT3 FTS3 FTRS3 FKS3 FJS3 FLS3
Probe
Only
PRB
F
PRB
FS
PRB
FRS
PRB
FXS¹
PRB
F0S
PRB
F45S
PRB
F90S
PRB
F90ES
PRB
FT
PRB
FTS
PRB
FTRS
PRB
FKS
PRB
FJS
PRB
FLS
NON-FERROUS Standard
Body
N1 NS1 NRS1 NAS1 N0S1 N45S1 N90S1 NKS1
Advanced
Body
N3 NS3 NRS3 NAS3 N0S3 N45S3 N90S3 NKS3
Probe
Only
PRB
N
PRB
NS
PRB
NRS
PRB
NAS
PRB
N0S
PRB
N45S
PRB
N90S
PRB
NKS
COMBINATIOM Standard
Body
FN1 FNS1 FNRS1 FNDS1³ FNTS1 FNGS1⁴
Advanced
Body
FN3 FNS3 FNRS3 FNDS3³ FNTS3 FNGS3⁴
Probe
Only
PRB
FN
PRB
FNS
PRB
FNRS
PRB
FNDS³
PRB
FNTS
PRB
FNGS⁴
Range 0–60 mils
0–1500 µm
0–80 mils
0–2000 µm
Ferrous: 0–45 mils and 0–1150 µm
Non-Ferrous: 0–25 mils and 0–625 µm
0–250 mils
0–6 mm
0–400 mils
0–10,000 µm
0–500 mils
0–13 mm
0–1.0 in.
0–25 mm
0–1.5 in.
0–38 mm
0–2.5 in.
0–63.5 mm
Accuracy⁵ +(0.05 mil + 1%) 0-2 mils
+(0.1 mil + 1%) >2 mils
+(1 µm + 1%) 0-50 µm
+(2 µm + 1%) >50 µm
+(0.02 mil + 1%) 0-4 mils
+(0.1 mil + 3%) >4 mils
+(0.5 µm + 1%) 0-100 µm
+(2 µm + 3%) >100 µm
+(0.5 mil + 1%) 0-100 mils
+(0.5 mil + 3%) >100 mils
+(0.01 mm + 1%) 0-2.5 mm
+(0.01 mm + 3%) >2.5 mm
+(0.1 mil + 3%)
+(2 µm + 3%)
+(1 mil + 3%)
+(0.02 mm + 3%)
+(0.01 in. + 3%)
+(0.2 mm + 3%)
Matching DeFelsko Calibration Standards STDS1
STDA1
STDS4 STDS2
STDA2
STDP1 STDP7 STDP5 STDP2 STDP8

Ferrous probes measure non-magnetic coatings on ferrous metals. Non-Ferrous probes measure non-conductive coatings on non-ferrous metals.

  1. FXS/FHXS Xtreme probe series with Alumina wear face andbraided cable - ideal for rough or hot surfaces up to 250˚ C (500˚ F).
  2. FHXS probe measures non-conductive coatings on steel only.
  3. See website for full FNDS probe accuracy information.
  4. FNGS probemeasures non-conductive coatings on all metals.
  5. Accuracies are stated as a fixed value plus a percentage of the gage’s actual reading.


lineDeFelsko PosiTector 6000 Coating Thickness Gages: Probe Detail (All probe details can be found online at www.abqindustrial.net/DeFelsko-PosiTector-6000-Probes)line

REMOVABLEINTEGRAL REGULAR,FNDS & FTS FRS& FTRS F0S & N0SWITH ADAPTER F45S& N45S F90S, F90ES& N90S
DeFelsko Positector 6000 REMOVABLE INTEGRAL DeFelsko Positector 6000 REGULAR, FNDS & FTS DeFelsko Positector 6000 FRS & FTRS DeFelsko Positector 6000 F0S & N0S WITH ADAPTER DeFelsko Positector 6000 F0S & N0S WITH ADAPTER DeFelsko Positector 6000 F45S & N45S DeFelsko Positector 6000 F90S, F90ES & N90S


lineDeFelsko PosiTector 6000 Coating Thickness Gages: Kit Contentline

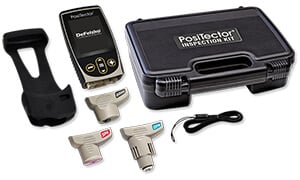
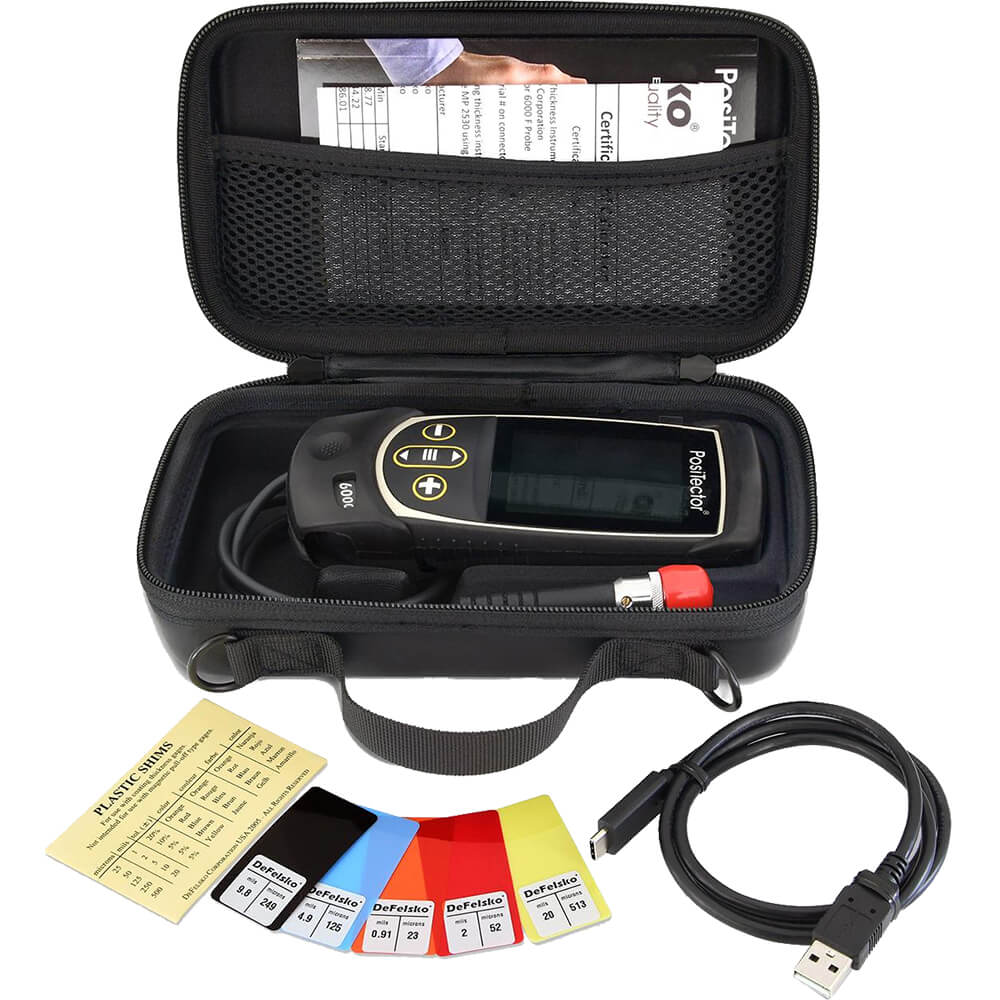
DeFelsko Positector 6000 Kit Contents ALL GAGES COME COMPLETE with precision plastic shim(s), protective rubber holster, wrist strap, 3 AAA alkaline batteries, instructions, protective lens shield, convenient carrying case, Long Form Certificate of Calibration traceable to NIST or PTB, USB cable, PosiSoft Software, two (2) year warranty.. SIZE:
127 x 66 x 25.4 mm (5" x 2.6" x 1")
(5.4" x 2.4" x 1.1")
WEIGHT:
137 g (4.9 oz.)
without batteries

* Size and weight are for the PosiTector gage body only and do not include the probe.

Conforms to ISO 2178/2360/2808, ISO 19840, ASTM B244/B499/ D1186/D1400/D7091/E376/G12, BS3900-C5, SSPC-PA2 and others


lineDeFelsko PosiTector Gage Bodies: Feature Comparison Chartline

Feature Comparison Chart DeFelsko Positector 6000 Standard Body
Standard
DeFelsko Positector 6000 Advanced Body
Advanced
NEW Larger 2.8" impact resistant color touchscreen with redesigned keypad for quick menu navigation
NEW On-gage help explains menu items at the touch of a button
NEW Weatherproof, dustproof, and water-resistant - IP65-rated enclosure
NEW Ergonomic design with durable rubberized grip
NEW Auto rotating display with Flip Lock
Extended cables available (up to 75 m/250 ft) for underwater or remote measuring
NEW Screen Capture - save 100 screen images for record keeping and review
NEW Instant-on feature quickly powers up the gage if recently powered down
NEW Up to 30% longer battery life
Reading Storage Capacity 1,000 per probe 250,000 in up to 1,000 batches
Live graphing of measurement data ---
NEW Prompted Batch Mode - create pre-defined batches with on-screen text and image prompts for each reading ---
3 Scan Modes - increase measurement speed to 180+ readings per minute:
Normal – take continuous readings without lifting the probe
Statistics – take continuous readings and record average, standard deviation, min/max thickness and number of readings while scanning
Limited Count Average – take continuous readings up to a user-specified count. The gage displays and records the average of the readings.
---
NEW Touchscreen keyboard for quickly renaming batches, adding notes, and more ---
Multiple stored calibration adjustments for measuring on a variety of substrate conditions ---
NEW SSPC-PA 2, ISO 19840, and IMO PSPC 90/10 modes help users comply with standards by prompting for min/max specifications, displaying the necessary readings, and automatically calculating statistics with a pass/fail result ---
WiFi technology wirelessly synchronizes with PosiSoft.net and downloads software updates ---
Bluetooth 4.0 Technology for data transfer to a mobile device running the PosiTector App or optional portable printer. BLE API available for integration into third-party software ---
Integrate with third-party software, drones, ROVs, PLCs, and robotic devices using several industry-standard communication protocols ---

For use with the: DeFelsko PosiTector 6000DeFelsko PosiTector 200DeFelsko PosiTector SPGDeFelsko PosiTector RTR HDeFelsko PosiTector RTR 3DDeFelsko PosiTector DPMDeFelsko PosiTector IRTDeFelsko PosiTector SST , DeFelsko PosiTector UTGDeFelsko PosiTector SHDDeFelsko PosiTector BHI


lineDeFelsko PosiTector 6000 Coating Thickness Gages Videosline


line
PosiSoft Suite of Software
line

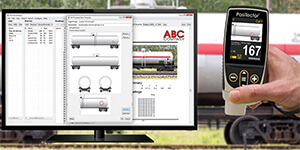
Four FREE and unique ways to view and report your PosiTector and PosiTest data. Learn More

  • PosiSoft Desktop
  • PosiSoft.net
  • PosiTector App
  • PosiSoft USB


lineDeFelsko Accessoriesline


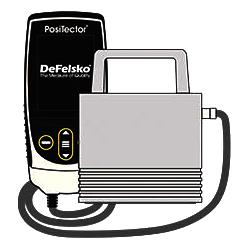
Accessories for DeFelsko Inspection Instruments - Online Catalog


lineRelated Productsline

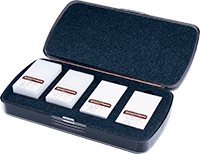
DeFelsko Certified Polystyrene Test Block Kits

  • Ideal for use in the calibration lab, in the field or on the factory floor

line

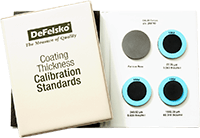
DeFelsko Certified Coated Metal Plates

  • Certified and labeled in both Metric and Imperial units

line

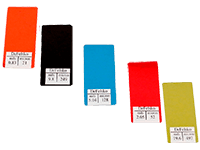
DeFeslko STDCSS NIST Certified Plastic Shim Set, Includes 8 Size Shims

  • For use with all Type 2, electronic coating thickness gages

line

DeFelsko STDZ Zero Plates

  • Use with Certified Coated Metal Standards

line

DeFelsko Inspection Kits

  • Select from a variety of gage bodies and probes

F.A.Q.

Is the DeFelsko PosiTector 6000 calibrated at the factory?

DeFelsko PosiTector 6000 instruments arrive fully calibrated and include a Long-Form Certificate of Calibration traceable to NIST or PTB. The Certificate of Calibration documents actual readings taken by your instrument at our calibration laboratory, on standards traceable to a national metrology institute. Beware of ‘Certificates’ or ‘Certificates of Conformance’ offered by competitors. These typically do not include actual instrument readings, and are often insufficient to meet common quality requirements.

Does the DeFelsko PosiTector 6000 need to be ‘calibrated’ or ‘adjusted prior’ prior to use? Do I need to perform a two-point adjustment prior to measuring?

The innovative probe technology and factory calibration in the DeFelsko PosiTector 6000 means that it arrives ready-to-measure - usually there is no need to perform a two-point calibration adjustment. Ruby or alumina probe tips on standard probe models eliminate wear, meaning that the factory calibration is maintained throughout the lifetime of the probe. Whether out of the box or after years of use, DeFelsko PosiTector 6000 will continue to provide accurate results.For highest confidence and best measurement accuracy, observe our “golden rule” - simply check ZERO (or the known thickness of a shim) on the uncoated part, adjust if necessary, and then measure the coated part. This ensures that the probe is properly adjusted for substrate characteristics including mass, metallurgy, curvature, temperature and roughness.

Do your instruments require any formal training for use? Do you offer ‘demo’ models?

No. Our instruments are designed for simple operation, feature easy-to-use menus, both full and quick instruction manuals, and helpful videos. In lieu of demonstration models, we provide unlimited technical support via telephone and/or email, and a limited 30-day money back guarantee.

How often should the DeFelsko PosiTector 6000 be recalibrated?

DeFelsko PosiTector 6000 probes include a Certificate of Calibration with no expiry or end date. They have no shelf life, therefore the length of time in the field is not a good indicator for recalibration intervals. Many organizations with quality programs and recertification programs require annual recalibrations, and this is a good starting point for most users. DeFelsko recommends that customers establish calibration intervals based upon their own experience and work environment. Based on our product knowledge, data and customer feedback, a one year calibration interval from the date the instrument was placed in service is a good starting point.

What can the DeFelsko PosiTector 6000 measure?

DeFelsko PosiTector 6000 paint thickness probes have different capabilities depending on the model.

  • ‘Ferrous’ model probes (order code beginning in ‘F’
    ex. FS1) can measure non-magnetic coatings applied to ferrous (magnetic) metals, typically carbon steel.
  • ‘Non-ferrous’ model probes (order code beginning in ‘N’ ex. NRS3) can measure non-conductive coatings applied to non-ferrous metals.
  • ‘Combination model probes (order code beginning in ‘FN’ ex. FNTS1) can measure non-magnetic coatings applied to ferrous (magnetic) metals, AND non-conductive coatings applied to non-ferrous metals

Is the DeFelsko PosiTector 6000 affected by the surface roughness (profile) of the metal substrate below the coating?

All coating thickness gages are influenced to some degree by substrate roughness, as shown in the below image. It is generally accepted that coating thickness should be measured from the highest ‘peaks’ in the rough surface thus ensuring they are covered by the protective coating. However, coating thickness gages will instead measure the coating thickness from the ‘effective magnetic plane, which is located somewhere between the highest peaks and deepest valleys of the profile. SSPC-PA 2 proposes several solutions depending upon the instrument type and the particular situation. Similar methods are suggested by ASTM D7091 and ISO 19840. One option is to verify the gage reads zero on the uncoated steel substrate, and adjust to zero if necessary. This is a popular solution when the metal surface is relatively smooth. Since it is difficult to ensure that the probe tip is sitting on the highest peaks of the surface profile, another option is to place a plastic shim of a known thickness that is close to the expected thickness of the applied coating between the probe and substrate and adjust to the stated thickness of the shim- referred to as a 1-point adjustment. The plastic shim sits on the peaks of the surface profile over a greater area than the probe tip, ensuring that the adjustment is being taken ‘over the peaks’. This best simulates a coating covering the peaks of the surface profile.

Can the DeFelsko PosiTector 6000 measure coatings on stainless steel?

"Stainless steel" is a term used to generally categorize a wide variety of corrosion and heat-resistant alloys. In specific terms of metallurgy, a “stainless steel” is any iron-based alloy containing a minimum of 10.5% chromium content by mass. Some stainless steel alloys have a relatively low magnetic response (often called “partially/weakly magnetic”). Others have no magnetic response whatsoever, and some possess a ferromagnetic response similar to carbon steel.The DeFelsko PosiTector 6000 is uniquely able to measure partially magnetic stainless steel alloys, an application that is challenging for many competitive instruments. DeFelsko PosiTector 6000 FN (combination ferrous/non-ferrous) probe models can often measure consistently on partially magnetic substrates with a simple Zero adjustment. For more challenging applications, the “N-Lock” measurement mode permits accurate measurement of non-conductive coatings applied to partially magnetic substrates.

Can the DeFelsko PosiTector 6000 measure coatings on hot surfaces?

The DeFelsko PosiTector 6000 FXS and FHXS Xtreme probes are ideal for measuring coating thickness on hot and/or rough surfaces (250°C, 500°F maximum). All DeFelsko PosiTector 6000 probe are capable of measuring on hot surfaces. Standard probe models can operate at environments up to 50˚C (120˚F). However, if the probe is lifted clear of the surface as soon as a reading is taken and is allowed to cool, measurements can be taken at higher temperatures. Simply ensure that the probe remains at a temperature of less than 50˚C (120˚F), and cool enough to handle with an unprotected hand.

What is the minimum part size required to take a reading?

To ensure a part’s dimensions are suitable for a DeFelsko PosiTector 6000 probe, simply check ZERO on the uncoated part and adjust if necessary. Verify accuracy by measuring a plastic shim placed on the uncoated part. If the measurement is within the combined tolerances of the shim and probe, the probe is suitable for measuring the coated part.

Can the DeFelsko PosiTector 6000 be used underwater?

While the PosiTector gage body and probe connector are not suitable for immersion in water, DeFelsko PosiTector 6000 regular cabled probes are hermetically sealed and ideal for underwater use. Extended cables are available (up to 75 m/250 ft) for underwater or remote measuring.

Is the DeFelsko PosiTector 6000 intrinsically safe?

While the DeFelsko PosiTector 6000 is not designed as an intrinsically safe device, our PosiTest mechanical gages are ideal for measuring coating thickness in hazardous operating environments.

Can the DeFelsko PosiTector 6000 measure nickel on steel?

Yes, but it depends upon the particular type of nickel coating that has been applied to the steel. When nickel plating is deposited by a process of electrolysis (employing an electric current in the nickel bath), the resultant coating – commonly called “e-nickel” – is always conductive and magnetic to some degree and cannot be accurately measured by our gages when applied to ferrous or non-ferrous metals. Electroless nickel coatings are deposited by an autocatalytic process which does not involve the addition of an electric current. If the nickel bath in this process contains a minimum concentration of ~8% phosphorus, the resulting nickel plating is effectively non-magnetic and its thickness can be accurately measured on ferrous steel with a magnetic principle coating thickness gage such as a DeFelsko PosiTector 6000 F model.

What is the measurement range of the DeFelsko PosiTector 6000?

The coating thickness measurement range of the DeFelsko PosiTector 6000 is dependent on which interchangeable probe is attached. DeFelsko PosiTector 6000 probes are available for measuring a wide variety of coating thickness applications.For example, the DeFelsko PosiTector 6000 FN probe can measure coating thicknesses up to 1500 um (60 mils), while the DeFelsko PosiTector 6000 FNGS probe measures coatings up to 63.5 mm (2.5 inches) thick. No matter your application, DeFelsko likely has a measuring solution to satisfy your requirement.