DeFelsko Testex Press-O-Film Replica Tape

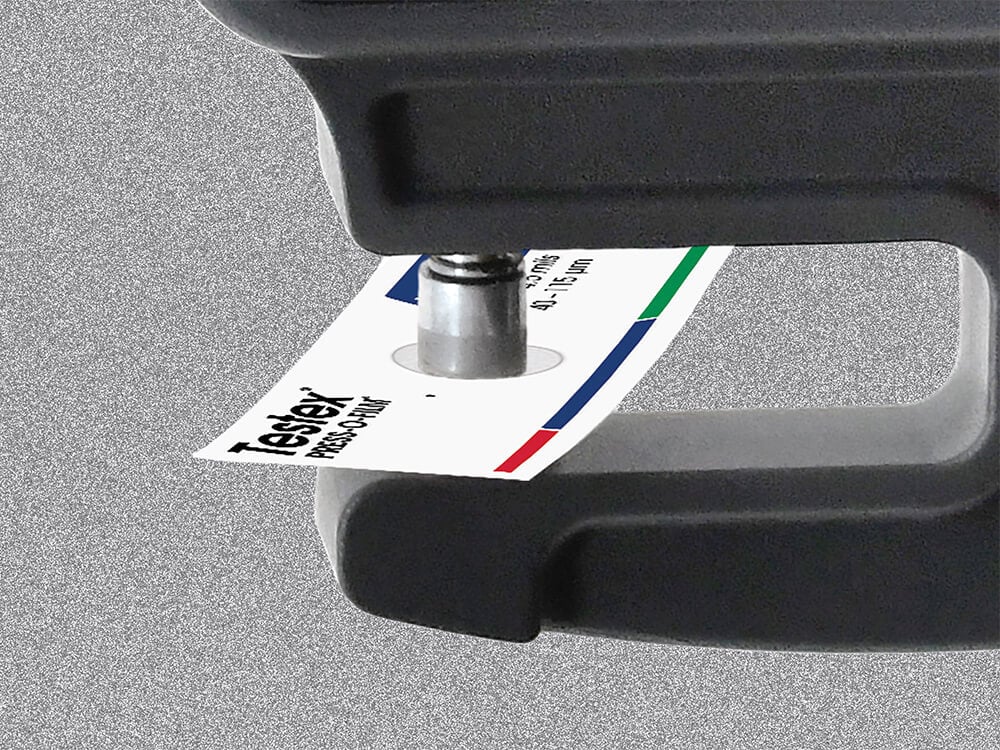
Testex Replica Tape measures surface profile by creating a replica of the surface, which can be measured using a micrometer

  • Simple technique: place on the surface, press/burnish it into the surface, remove, and measure
  • Proven technique with accuracy and repeatability validated by numerous independent studies
  • Measure using an analog precision micrometer or electronic PosiTector RTR Replica Tape Reader
  • Less than 30 seconds required per test
  • Only surface profile measurement method recognized by ISO, ASTM, and AMPP

Conforms to ASME B46, ASTM D4417, ISO 8503-5, NACE SP287, SSPC-PA 17, SP5, SP6, SP10, SP11-87T, and others


line
Press-O-Film Replica Tape
line

Testex Press-O-Film Replica Tape consists of a layer of compressible foam affixed to an incompressible polyester substrate of highly uniform thickness. When pressed against a roughened steel surface, the foam collapses and forms an impression of the surface. Placing the compressed Testex tape between the anvils of a micrometer thickness gage and subtracting the thickness of the incompressible substrate gives a measure of the surface profile.

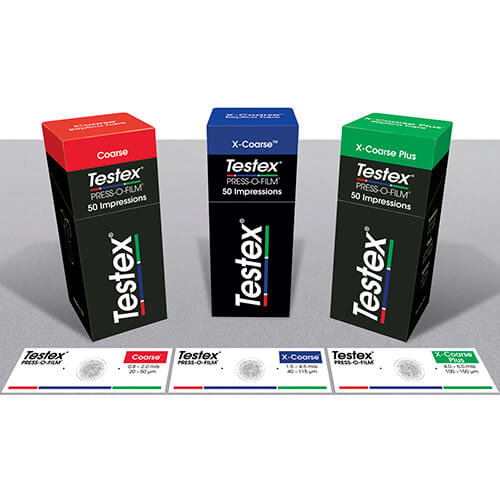
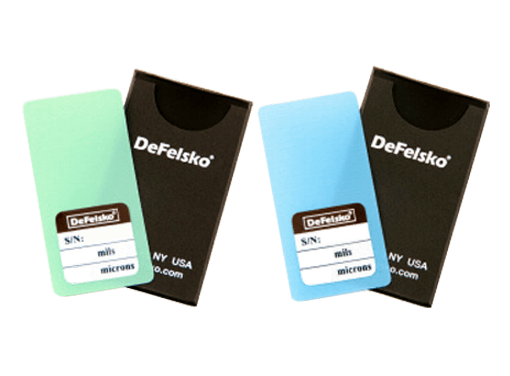
Each roll of Testex Tape includes 50 pieces (impressions).


Conventional Testex Press-O-Film Tape Grades
line

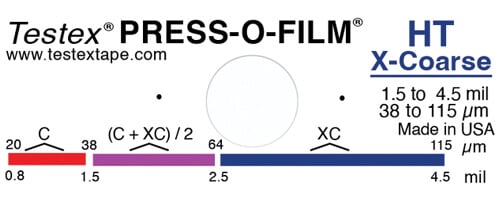
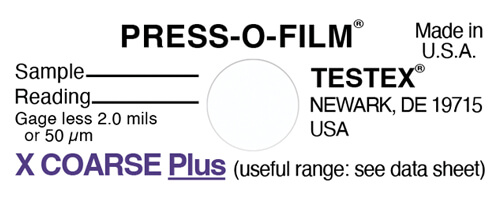
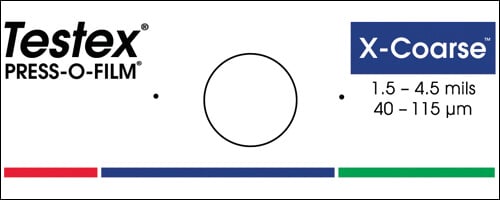
Testex Press-O-Film replica tape is available in a variety of thickness ranges for measuring substrate roughness. The primary range for measurement with replica tape is 20 to 115 µm (0.8 to 4.5 mils). Use of Coarse Minus grade (<20 µm or <0.8 mil) or X-Coarse Plus grade tape (>115 µm or >4.5 mils) should primarily be restricted to checking measurements at the lower and upper ends of the primary range.


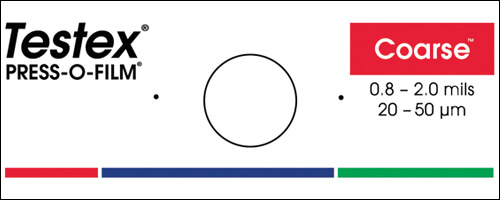
Testex RTC Coarse
Press-O-Film Replica Tape
Testex RTXC X-Coarse
Press-O-Film Replica Tape
Testex RTXCPLUS X-Coarse Plus
Press-O-Film Replica Tape
Testex RTCMIN Coarse Minus
Press-O-Film Replica Tape
ORDER CODE ORDER CODE ORDER CODE ORDER CODE
RTC RTXC RTXCPLUS RTCMIN
GRADE GRADE GRADE GRADE
Coarse X-Coarse X-Coarse Plus Coarse Minus
RANGE RANGE RANGE RANGE
0.8 to 2.0 mils
20 to 50 µm
1.5 to 4.5 mils
38 to 115 µm
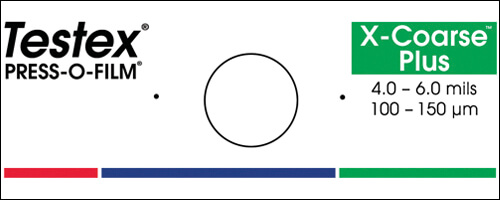
4.0 to 6.0 mils
100 to 150 µm
0.5 to 1.0 mils
12 to 25 µm
MEASUREMENT TOOL
MEASUREMENT TOOL
MEASUREMENT TOOL MEASUREMENT TOOL
Testex Digital Micrometer Thickness Gage
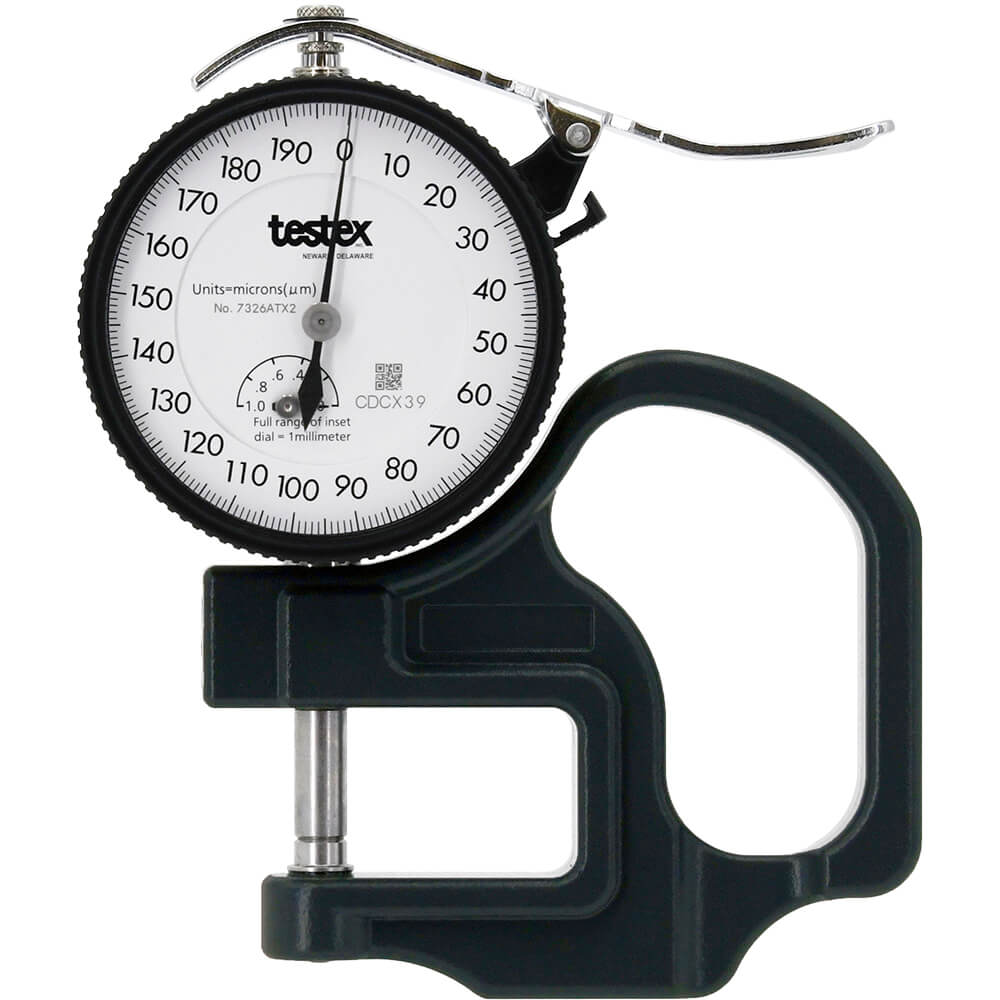
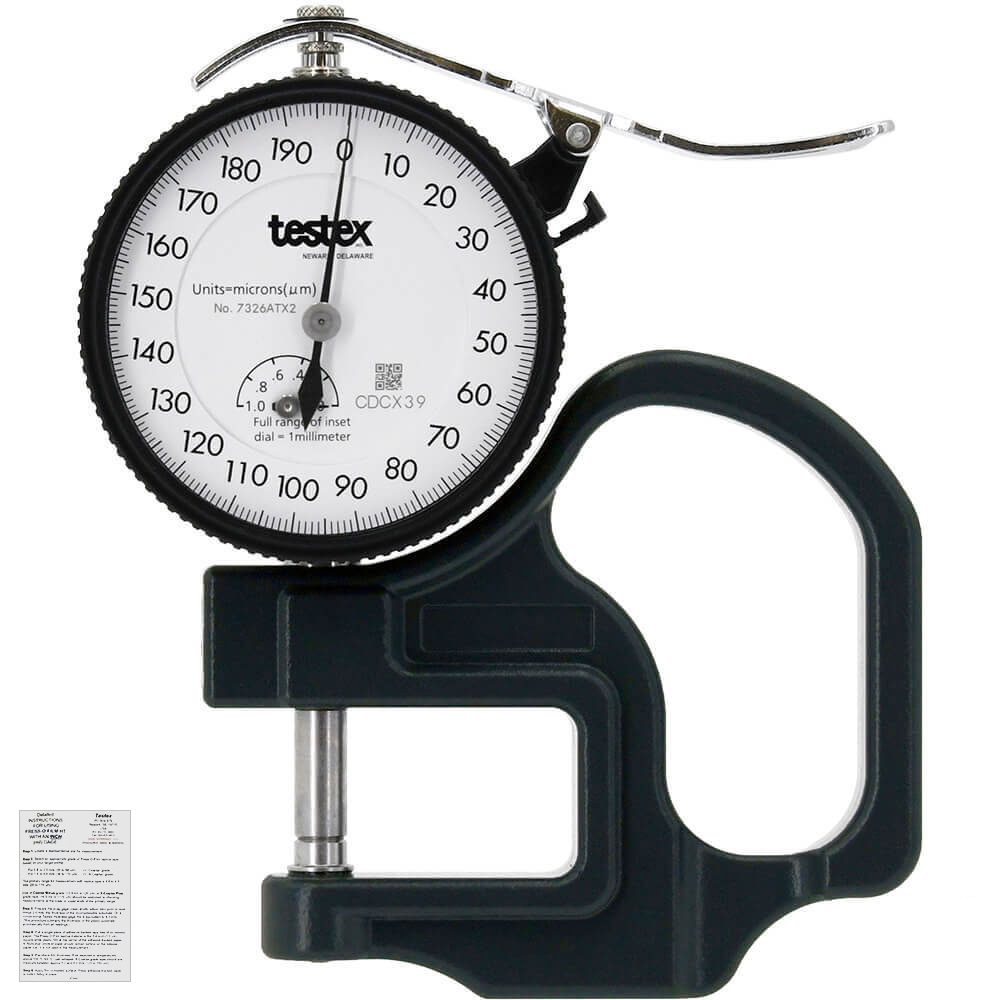
Testex Micrometer Dial Thickness Gauge
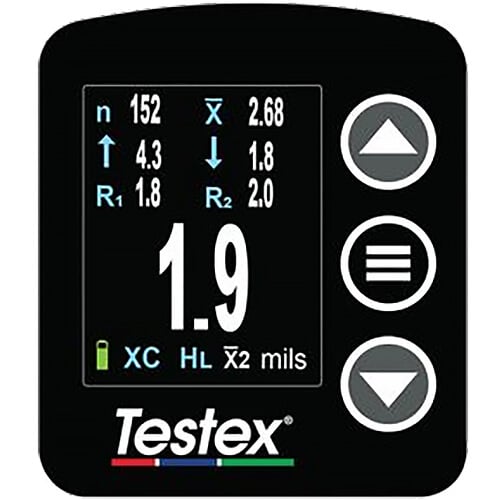
DeFelsko PosiTector RTR H Replica Tape Reader / Surface Profile Gage
Testex Digital Micrometer Thickness Gage
Testex Micrometer Dial Thickness Gauge
DeFelsko PosiTector RTR H Replica Tape Reader / Surface Profile Gage
Testex Digital Micrometer Thickness Gage
Testex Micrometer Dial Thickness Gauge
DeFelsko PosiTector RTR H Replica Tape Reader / Surface Profile Gage
Testex Digital Micrometer Thickness Gage
Testex Micrometer Dial Thickness Gauge
DeFelsko PosiTector RTR H Replica Tape Reader / Surface Profile Gage


Optical Grade Testex Press-O-Film Tape Grades
line

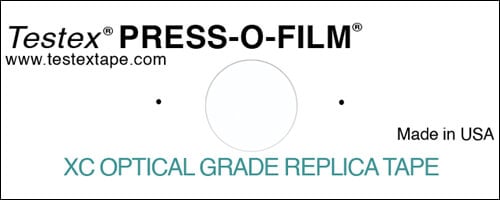
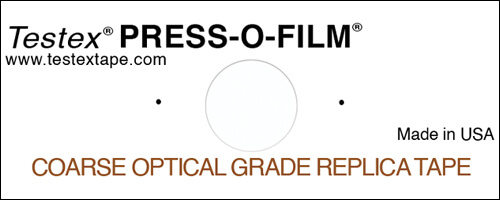
Testex Press-O-Film Optical Grade replica tape, when used with PosiTector RTR 3D models, provides higher quality surface data files (.SDF) than conventional replica tape. Optical Grade Replica Tape is available in Coarse or X-Coarse.

Testex RTCOG Optical Grade Coarse
Press-O-Film Replica Tape
Testex RTXCOG Optical Grade X-Coarse
Press-O-Film Replica Tape
ORDER CODE ORDER CODE
RTCOG RTXCOG
GRADE GRADE
Optical Grade Coarse Optical Grade X-Coarse
RANGE RANGE
0.8 to 2.5 mils
20 to 64 µm
1.5 to 4.5 mils
38 to 115 µm
MEASUREMENT TOOL MEASUREMENT TOOL
DeFelsko PosiTector RTR 3D Replica Tape Reader to Measure and Record 2D/3D Surface Profile Parameters DeFelsko PosiTector RTR 3D Replica Tape Reader to Measure and Record 2D/3D Surface Profile Parameters


Legacy Testex Press-O-Film Tape Grades
line

All tape grades are available in the legacy roll format. Instructions and Standards will continue to support both methods and burnishing tools.
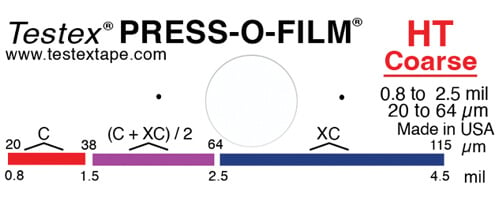

Testex RTC-A Coarse Grade Press-O-Film Replica Tape Testex RTXC-A X-Coarse Grade Press-O-Film Replica Tape Testex RTXCPLUS-A X-Coarse Plus Grade
Press-O-Film Replica Tape
ORDER CODE ORDER CODE ORDER CODE
RTC-A RTXC-A RTXCPLUS-A
GRADE GRADE GRADE
Coarse X-Coarse X-Coarse Plus
RANGE RANGE RANGE
0.8 to 2.5 mils
20 to 64 µm
1.5 to 4.5 mils
38 to 115 µm
4.6 to 5.0 mils
116 to 127 µm
MEASUREMENT TOOL MEASUREMENT TOOL MEASUREMENT TOOL
Testex Digital Micrometer Thickness Gage
Testex Micrometer Dial Thickness Gauge
DeFelsko PosiTector RTR H Replica Tape Reader / Surface Profile Gage
Testex Digital Micrometer Thickness Gage
Testex Micrometer Dial Thickness Gauge
DeFelsko PosiTector RTR H Replica Tape Reader / Surface Profile Gage
Testex Digital Micrometer Thickness Gage
Testex Micrometer Dial Thickness Gauge
DeFelsko PosiTector RTR H Replica Tape Reader / Surface Profile Gage


line
Features
line

Simple

  • Simple technique: place on the surface, press/burnish it into the surface, remove, and measure
  • Less than 30 seconds required per test
  • Measure using an analog precision micrometer or electronic PosiTector RTR Replica Tape Reader
  • Ideal for measuring on round surfaces and other challenging locations
  • Complete Kits available with everything needed for testing

Durable

  • Option to retain a permanent physical replica of the surface after measurement for archival reporting
  • Withstands nearly any environment, including temperatures up to 60° C
  • Long shelf life with no expiration date
  • Hard-shell plastic case included with Replica Tape, Micrometers, and Kits

Accurate

  • Proven technique with accuracy and repeatability validated by numerous independent studies
  • Quantitative test - no need to interpret or compare measurements
  • Only surface profile measurement method recognized by ISO, ASTM, and AMPP
  • Measures over a relatively large area for high repeatability
  • Generate high-resolution 3D images of the surface using Optical Grade Replica Tape and the PosiTector RTR 3D


line
Micrometers
line

A variety of micrometer thickness gages are available for measuring blast steel profile using Replica Tape. Select from dial thickness gages (snap gages) and digital replica tape readers.


lineTestex Digital Micrometer Thickness Gage
line

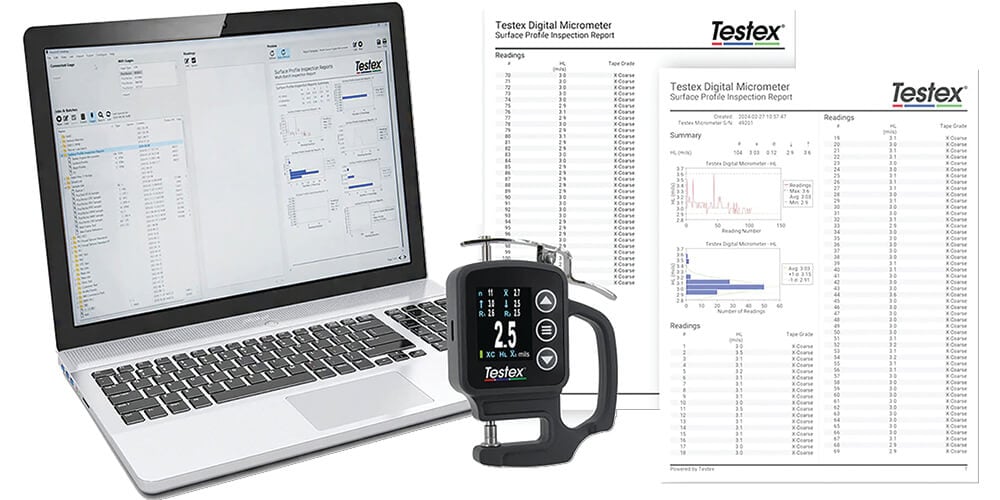
The Testex Digital Micrometer makes using Testex Replica Tape even easier. It is custom-deigned to be the optimal tool for measuring replica tape, and makes taking measurements and creating reports easier than ever.


line
Testex Digital Micrometer Thickness Gage - Specifications
line

Measuring Range 0 - 40 mils 0 - 1000 µm
Accuracy 0 - 10 mils: ±0.2 mils
10 - 40 mils: ±(0.2 mils + 1%)
0 - 250 µm: ±5 µm
250 - 1000 µm: ±(5 µm + 1%)
Resolution 0.1 mils 1 µm
Closing Force 1.1 N
Anvil Diameter 0.25" 6.35 mm
Units Microns/Mils Switchable
Certified Yes


lineTestex Digital Micrometer Thickness Gage - More Infoline

Easy to Use

  • Bright, high-contrast digital color display with large numerals for easy viewing in bright or dark environments
  • Measures in both Microns and Mils
  • Built-in memory for up to 250 readings with on-screen statistics. View and download measurements on any computer using the included USB cable. No software required.
  • Durable, all-metal housing
  • Powered by a single AAA battery

line

Designed for Replica Tape

  • Simply select the appropriate replica tape grade to automatically apply the appropriate conversion factor and subtract the 50 µm (2 mils) backing thickness
  • In 'Average mode', the Micrometer prompts the user and averages two readings, in compliance with international standards
  • A traceable Certificate of Calibration is included with each digital micrometer

line

Download to a PC or Mac

  • Fully compatible with powerful PosiSoft Software for archiving and reporting measurement data
  • USB Drive mode retrieves data in a manner similar to a flash drive in .csv format. No software to install or internet connection required


lineTestex Analog Dial Thickness Gages
line

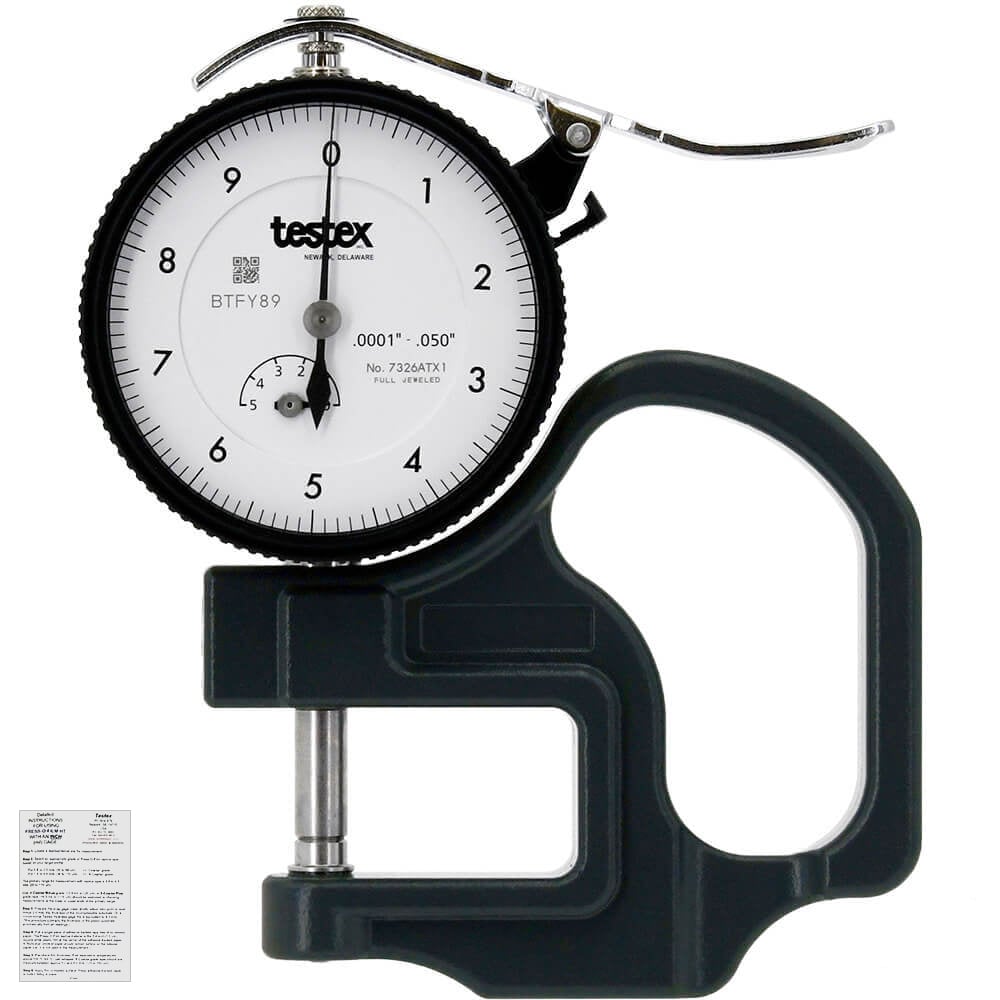
Testex Micrometer Dial Thickness Gages are the only analog gages specifically designed for use with replica tape having the correct accuracy, closing force, anvil/contact point dimensions, and parallelism specifications required for accurate measurement of replica tape.
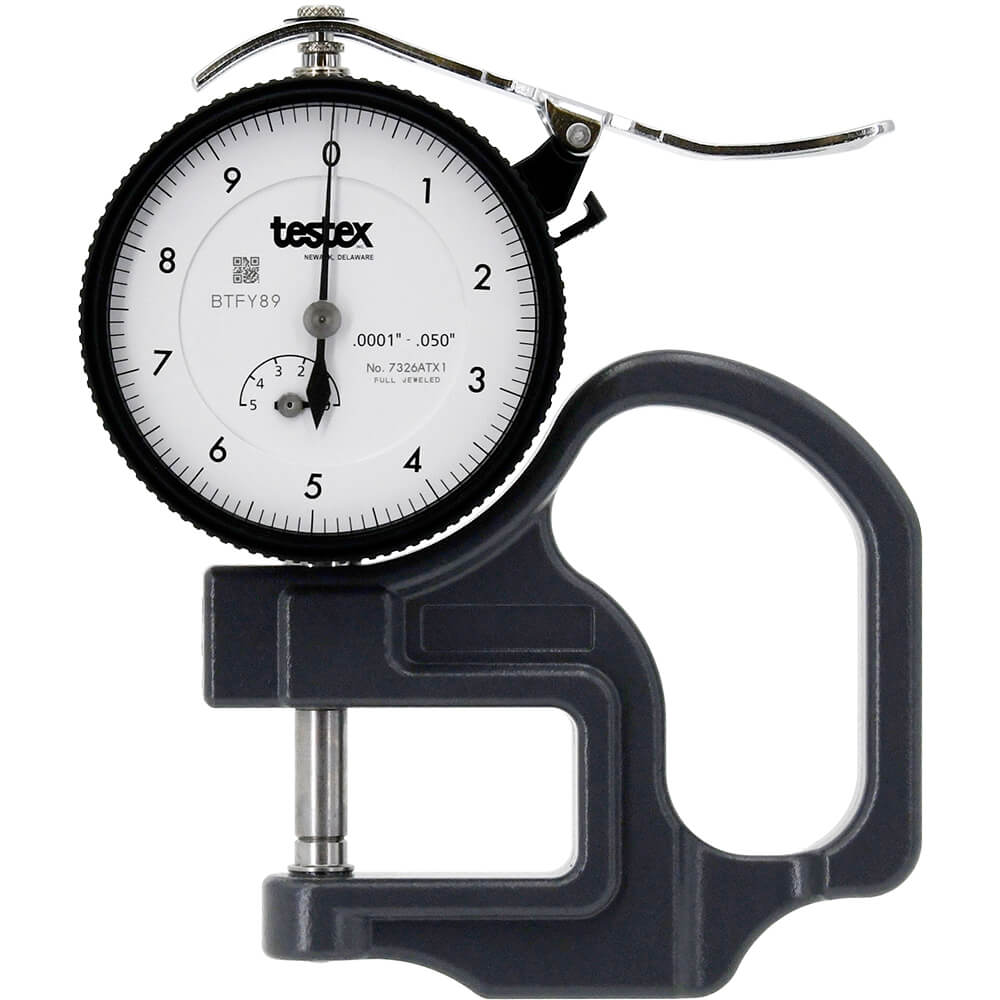
Testex RTMMIL Micrometers
Dial Thickness Gage Mils
Testex RTMMILCERT Micrometers
Dial Thickness Gage Mils Certified
Testex RTMMIC Micrometers
Dial Thickness Gage Microns
Testex RTMMICCERT Micrometers
Dial Thickness Gage Microns Certified
ORDER CODE ORDER CODE ORDER CODE ORDER CODE
RTMMIL RTMMILCERT RTMMIC RTMMICCERT
DESCRIPTION DESCRIPTION DESCRIPTION DESCRIPTION
Testex Micrometer Dial Thickness Gage Testex Micrometer Dial Thickness Gage Testex Micrometer Dial Thickness Gage Testex Micrometer Dial Thickness Gage
UNITS UNITS UNITS UNITS
Mils Mils Microns Microns
CERTIFIELD CERTIFIELD CERTIFIELD CERTIFIELD
No Yes No Yes


line
Digital Replica Tape Readers
line

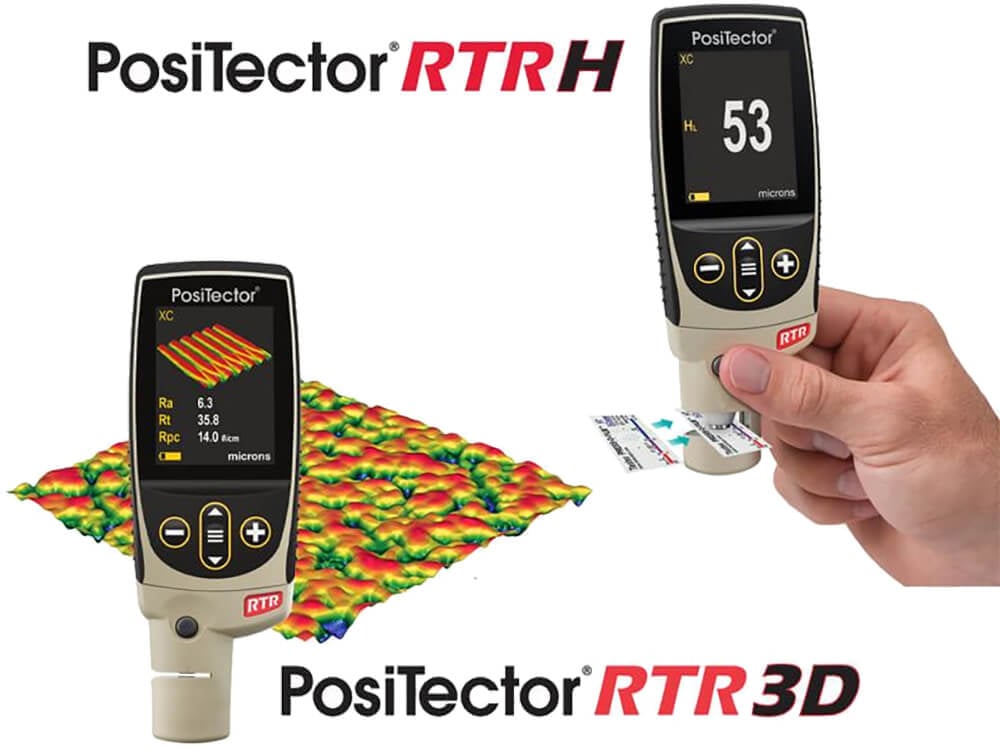
Replica tape readers, such as the PosiTector RTR H and PosiTector RTR 3D, use Testex Press-O-Film replica tape to measure and record surface profile parameters.

All gages come complete with stainless steel burnishing tool, 5 cleaning cards, check shim(s), surface cleaning putty, protective rubber holster, wrist strap, 3 AAA alkaline batteries, instructions, nylon carrying case with shoulder strap, protective lens shield, Long Form Certificate of Calibration traceable to PTB, USB cable, PosiSoft Software, two (2) year warranty on body and probe.

DeFelsko PosiTector RTR H Electronic Surface Profile Gage for Blasted Steel and Textured Coatings


Digital spring micrometers measure and record surface profile parameters using Testex Press-O-Film replica tape - producing a more accurate peak-to-valley surface profile height measurement for blasted steel and textured coatings.


DeFelsko PosiTector RTR 3D Replica Tape Reader to Measure and Record 2D/3D Surface Profile Parameters


Digital replica tape imagers measure and record peak height, peak density, and 14 common 2D/3D surface profile parameters (Ra, Rq, Rz, Rp, ­Rv, Rt, Rpc [2D], and Sa, Sq, Sz, Sp, Sv, and Spd [3D]) using Testex Press-O-Film™ replica tape. Download high resolution .SDF files for further analysis (Advanced models only).


line
Testex Replica Tape Kits
line


lineTestex Digital Micrometer Kit
line

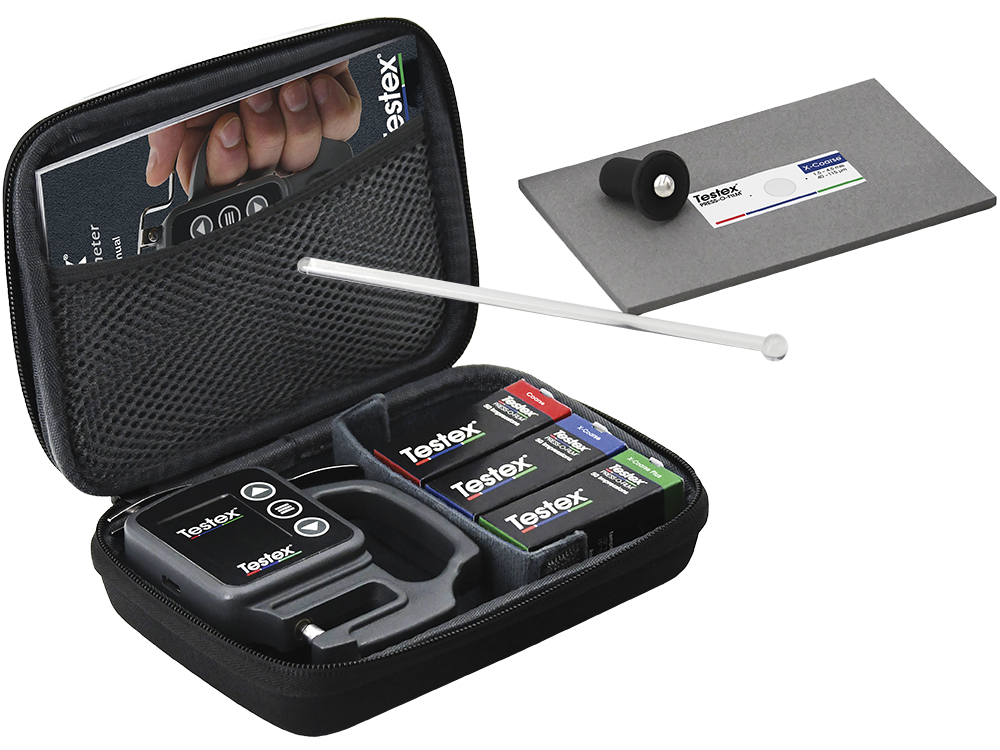
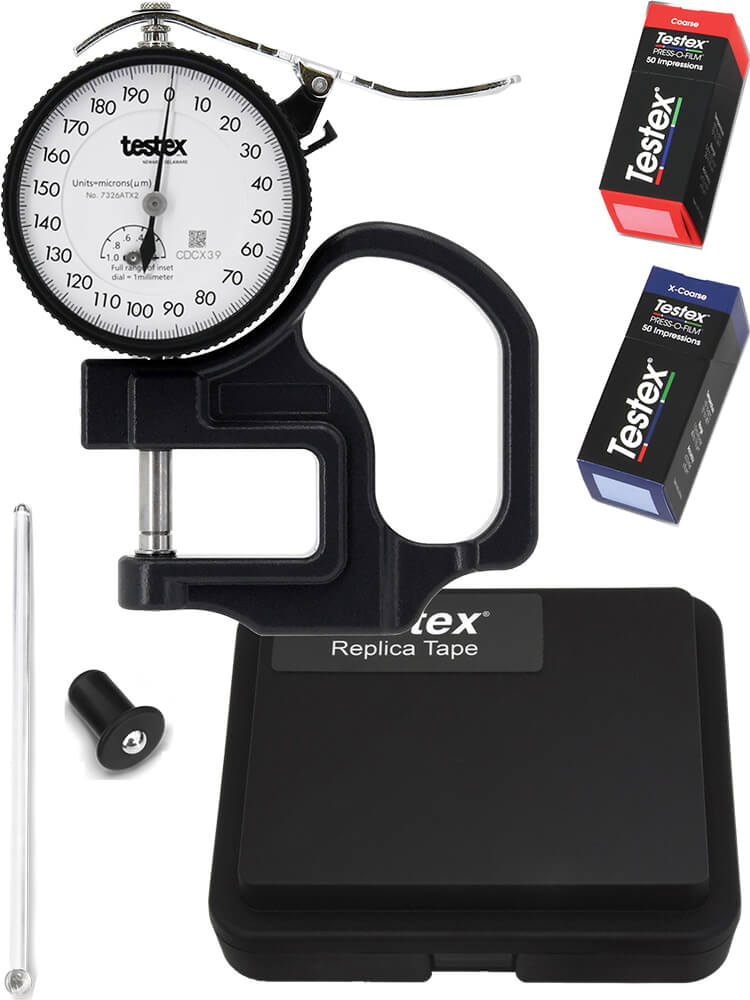
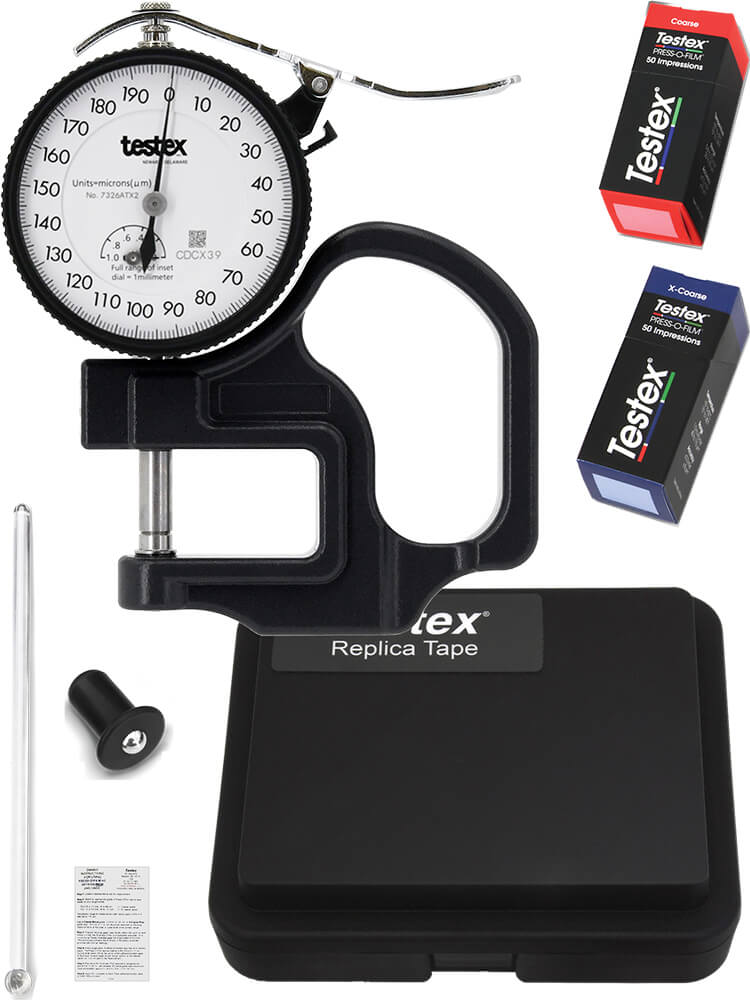
Testex Digital Micrometer Thickness Gage Kit includes everything required to measure the surface profile using replica tape. Includes digital micrometer, three cartons of replica tape – Coarse, X-Coarse, and X-Coarse Plus, two burnishing tools – High Accuracy Burnishing Tool and classic burnishing tool, instruction manual, USB Cable, Certificate of Calibration, one AAA battery, and a custom case.

Order Code Description Units Certified
RTKIT Testex RTKIT Digital Micrometer Kit Thickness Gage Microns/Mils Switchable Yes


lineTestex Analog Dial Thickness Gages Kit
line

Testex Micrometer Analog Dial Thickness Gage Kits include everything required to measure the surface profile using replica tape. Includes choice of micrometer, two cartons of Testex Press-O-Film tape (Coarse and X-Coarse), two burnishing tools – High Accuracy Burnishing Tool and classic burnishing tool, instruction manual, and a hard shell case.


Testex RTMMIL Micrometers
Dial Thickness Gage Kit
Testex RTMMILCERT Micrometers
Dial Thickness Gage Kit
Testex RTMMIC Micrometers
Dial Thickness Gage Kit
Testex RTMMICCERT Micrometers
Dial Thickness Gage Kit
ORDER CODE ORDER CODE ORDER CODE ORDER CODE
RTKITMIL RTKITMILCERT RTKITMIC RTKITMICCERT
DESCRIPTION DESCRIPTION DESCRIPTION DESCRIPTION
Testex Micrometer Dial Thickness Gage Testex Micrometer Dial Thickness Gage Testex Micrometer Dial Thickness Gage Testex Micrometer Dial Thickness Gage
UNITS UNITS UNITS UNITS
Mils Mils Microns Microns
CERTIFIELD CERTIFIELD CERTIFIELD CERTIFIELD
No Yes No Yes


line
How It Works
line

  1. Prepare
  1. Burnish
  1. Measure

Clean the surface with a putty to remove dust and other contaminants.

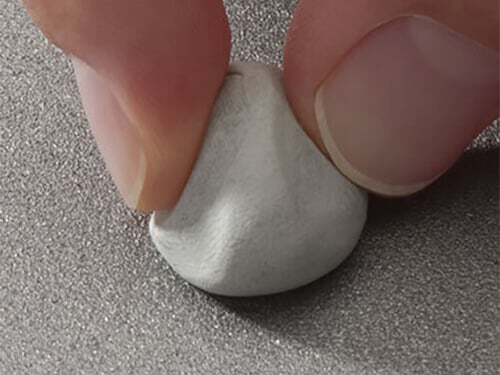
Use cleaning putty to remove dust, debris, or residual blast media from the measurement site by firmly pressing the putty onto the surface to be tested using your fingers and remove.

Select the appropriate grade of replica tape, then pull a single piece of tape free of its release paper and apply to blasted surface.

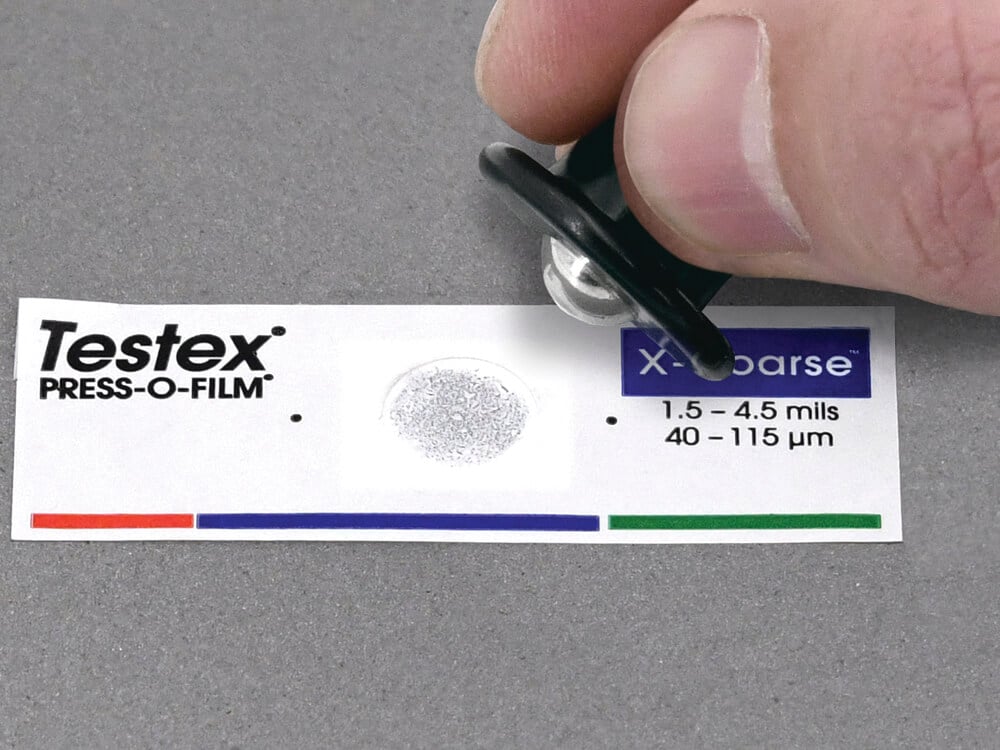
Firmly compress replica film using burnishing tool by applying sufficient pressure in a circular and x-y rubbing motion. When complete, remove tape from surface.

Insert the compressed replica tape between the micrometer's measurement anvils and take a reading.

Ensure the tape is properly positioned so that the burnished region is centered in the anvils with the adhesive side down.


Videos
line


Accessories
line

DeFelsko RTBURNISHHA High Accuracy Burnishing Tool

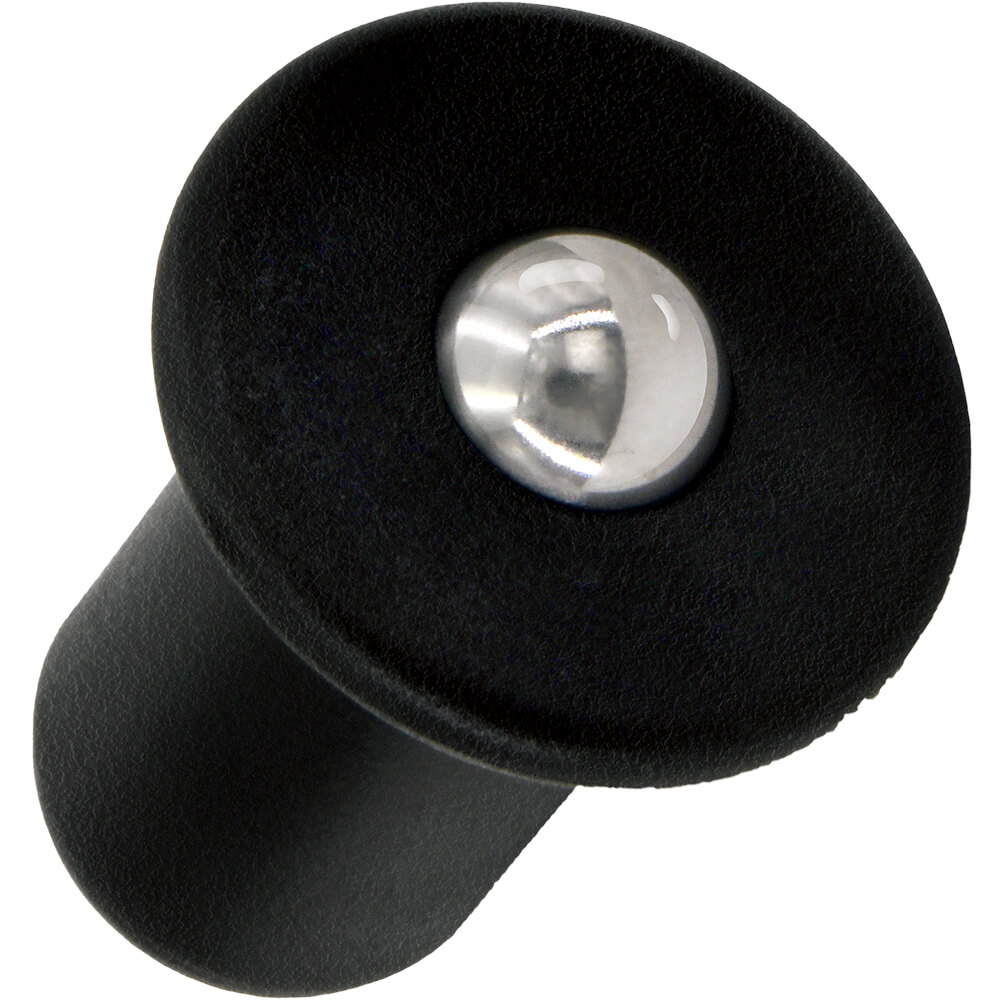
  • Burnishing tool includes a built-in spring mechanism ensuring that consistent force is used, regardless of how hard the tool is pressed against the surface

line

DeFelsko RTBURNISHPL Burnishing Tool

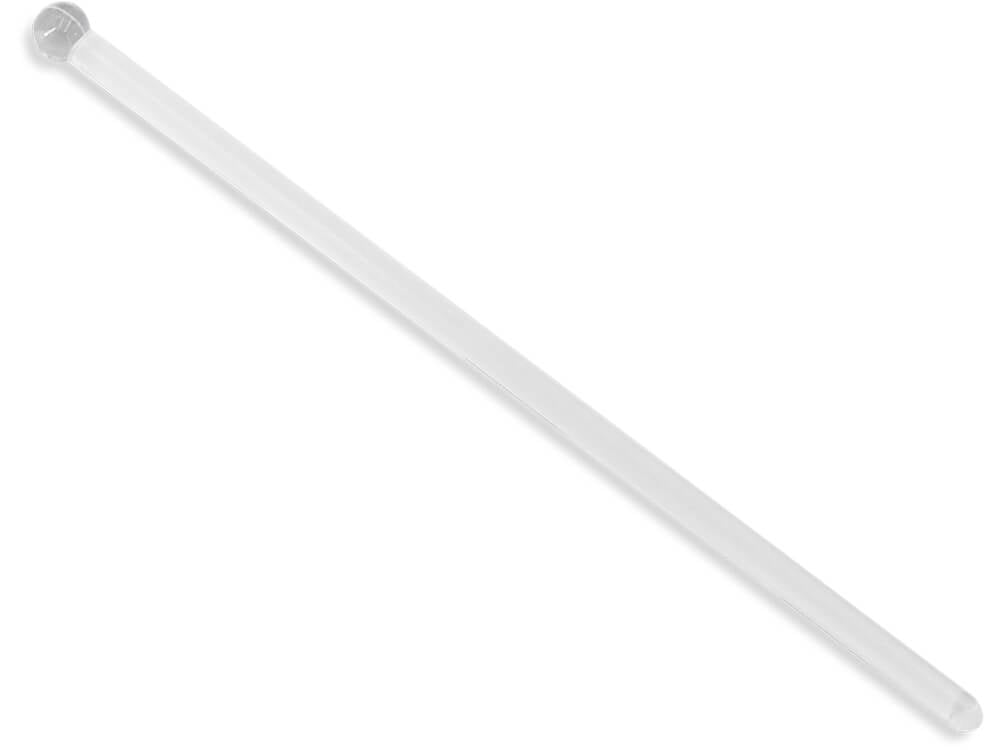
  • Round-end plastic rubbing tool to compress replica film on the blasted surface

line

DeFelsko RTRBURNISH Stainless Steel Burnishing Tool

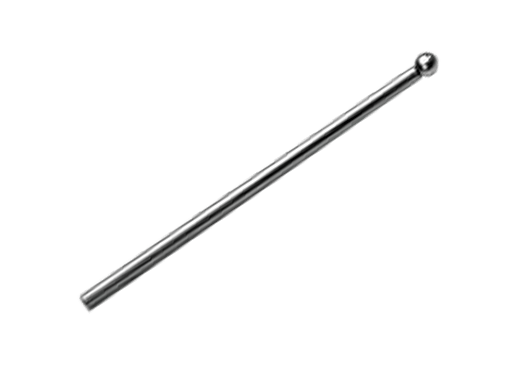
  • Round-end (Ø8 mm) rubbing tool to compress replica film on the blasted surface.

line

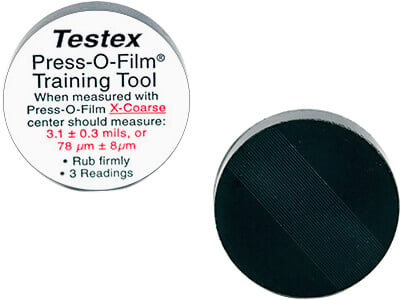
DeFelsko STDRT Training Surface

  • Contains a pattern with a known peak-to-valley profile height, to learn and verify correct measurement technique

line

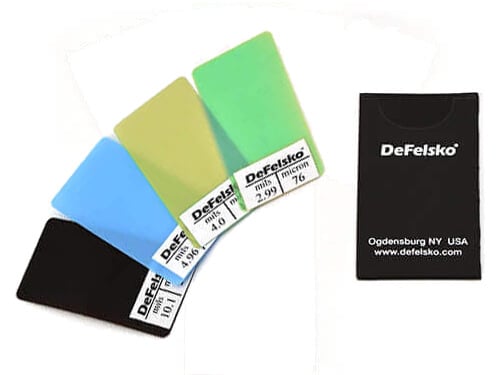
Testex STDRTSHIMS Shim Set

  • Used to verify the accuracy and operation of Testex and other spring micrometer replica tape readers

line

DeFelsko RTRPUTTY Surface Cleaning Putty

  • To clean the surface of debris prior to burnishing

line

DeFelsko STDRTCSS Testex Certified Shim Set

  • Used to verify the accuracy and operation of all Testex micrometers. Ideal for fulfilling both ISO and in-house quality control requirements. Includes Certificate of Calibration traceable to PTB.


lineDownloadsline

Testex Digital Micrometer Thickness Gage - Quick Guide
Testex Digital Micrometer Thickness Gage - Instruction Manual
Testex Digital Micrometer Thickness Gage - Instruction Manual Eupore
Testex Digital Micrometer Thickness Gage - Instruction Manual Asia
DeFelsko PosiTector RTR H Electronic Surface Profile Gage for Blasted Steel and Textured Coatings - Instruction Manual
DeFelsko PosiTector RTR 3D Replica Tape Reader to Measure and Record 2D/3D Surface Profile Parameters - Instruction Manual
DeFelsko Testex Accessories for Inspection Instruments - Online Catalog

F.A.Q.

What is replica tape?

Testex Press-O-Film replica tape consists of a layer of crushable plastic microfoam coated onto polyester film of highly uniform thickness. It is sold in a number of grades to accommodate measurements in different profile ranges.

What is Press-O-Film HT?

Testex Press-O-Film HT is an improved version of Press-O-Film (discontinued in 2010). Press-O-Film HT (High Temperature) is formulated for better performance at high temperatures (up to 140°F or 60° C) encountered in the most challenging environments.

How does replica tape work?

Replica tape consists of a layer of compressible foam affixed to an incompressible polyester substrate. When pressed against a roughened (steel) surface, the foam collapses acquiring an impression of the surface. Placing the compressed tape between the anvils of a micrometric thickness gage, and subtracting the contribution of the incompressible substrate (50 µm or 2 mils), gives a measure of the surface profile. Consequently, the thickness of the compressed tape equals the average maximum peak-to-valley profile plus the thickness of the incompressible polyester substrate. A spring-loaded micrometer gage is used to measure the thickness of the replica.

How accurate is Testex Press-O-Film Replica Tape?

There are multiple ways of expressing the accuracy or precision of an instrument or test method. The most common method in our industry is to measure on traceable standards in a calibration laboratory. This is challenging for surface profile measurement instruments because no traceable surface profile standards exist. For some instruments, such as depth micrometers (ASTM D4417 Method B), accuracy can be estimated using calibrated height standards. For replica tape, the ASTM D01.46 committee used a set of panels blasted with a range of surface profiles, and compared the results from replica tape against measurements taken on the same panels using a calibrated drag stylus micrometer (ASTM D4417 Method D). Across the 0.8-4.5 mil (20-115 micron) primary range of replica tape, the readings differed by less than ± 0.3 mils (± 9 microns), as summarized in the table below. However, this tests the accuracy of the instrument or apparatus, but not necessarily the overall test method. For most users, it is more important that measurements are consistent between the various parties (for example, the specifier or contract author, the contractor, and the inspector). Because blasted surfaces are complex, random shapes, the ability of an instrument to measure height in a laboratory is not necessarily indicative of its ability to measure surface profile in a consistent, repeatable manner in the field. In 2011 the ASTM D01.46 committee preformed an interlaboratory study, which measured the reproducibility of measurements made by multiple users and laboratories (stated as the range that 95% of measurements from all operators across all laboratories fall within). The results are summarized as follows: The accuracy/reproducibility values are specified at 3 mils in the above table, and typically vary across the range of an instrument. For Replica Tape: In summary, independent studies have shown that Testex Press-O-Film replica tape is a highly accurate measurement method with industry-leading reproducibility

Why is measuring surface profile important?

Industrial steel in bridges, ships, railcars, etc., is almost always painted or otherwise coated to prevent corrosion. Before they can be painted, these metal surfaces must be cleaned and roughened to ensure that the paint adheres. This is usually done by grit or shot blasting the surface. If the resulting surface is too smooth, the paint or coating will not stick. If the surface is too rough, the peaks may poke through the coating allowing rusting to occur.

Is it necessary to average the measurements from two pieces of replica tape?

Most international standards instruct users of replica tape to take two replica tape readings in each measurement area, and average those two readings together to yield a 'Profile Measurement'. As with any test, averaging multiple measurements improves repeatability and accuracy. If a measurement made with either Coarse or X-Coarse replica tape is in the 'overlap range' of 38 to 64 µm (1.5 to 2.5 mils), a second measurement should be taken in the same spot with the other grade of tape. If BOTH readings are in the above Overlap Range, record the average of the two measurements as the peak-to-valley roughness. If EITHER reading is outside of the Overlap Range, record it as the profile height.

Do I need to use two different grades of replica tape to take a measurement?

In 2024, a peer-reviewed study introduced improvements to the replica tape test method including an increased range for Coarse, X-Coarse, and X-Coarse Plus replica tapes and a new conversion technique. The resultant conversion table can be used with analog micrometers and provides a simpler alternative to the legacy ‘averaging’ technique. The conversion table is not required for the Testex Digital Micrometer as it makes the calculations automatically.

Previously, if readings made with either the legacy Coarse or X-Coarse replica tape fell within the 'overlap range' of 38 to 64 µm (1.5 to 2.5 mils), a second reading was be taken in the same spot with the other grade of tape. If BOTH readings were within the above 'overlap range’, the average of the two readings were recorded as the ‘Profile Measurement’. If only one reading was outside of the Overlap Range, it was recorded as the first reading and a second reading was taken with the same grade of replica tape. Averaging those two readings together yielded a 'Profile Measurement'. The legacy averaging technique is still valid and supported by international standards.

What is the High Accuracy Burnishing Tool?

The High Accuracy Burnishing Tool includes a spring-loaded burnishing ball which is depressed into the base of the tool exerting the perfect amount of pressure to burnish (create) a replica. It reduces operator influence, providing an extended range and ±8 µm (0.3 mil) accuracy for Testex Replica Tape.

For concave surfaces, the narrower curved top of the tool can be used to create replicas.

The Classic Stick-type Burnishing Tool remains a valid measurement practice and is recognized by international standards. Care should be given to avoid applying too much force. Excessive force can lead to inaccurate measurements

What has changed with the new replica tape format and packaging?

All versions of Coarse and X-Coarse replica tape use the same trusted replica foam, incompressible backing, and HT (high temperature) formulation that have been sold for decades. There is no functional difference between the legacy rolls of Coarse and X-Coarse replica tape, and the new strips of Coarse and X-Coarse replica tape that are packaged in cartons.  

The new 'strips' of Coarse and X-Coarse replica tape simply feature a modernized design and packaging.

Strips of X-Coarse Plus replica tape feature thicker foam to allow an increased measurement range of 100-150 µm (4.0-6.0 mils). Strips and rolls of X-Coarse Plus replica tape should not be used interchangeably.

Improvements include:

  • Easy-Open, Easy-Close Carton
  • Improved 'Strip' format with Easy-Remove 'Peel-Here' Tab
  • Increased X-Coarse Plus Range—100-150 µm (4.0-6.0 mils).

Returning Features

  • Same trusted Coarse and X-Coarse replica foam
  • Same High Temperature (HT) Formulation for better performance on hot surfaces
  • 50 strips (impressions) per carton/roll