-
Shop by Category
- Coating Inspection
- Coating Thickness Gauges
- Coatings, Miscellaneous
- DeFelsko PosiTector 200
- DeFelsko PosiTector 6000
- DeFelsko PosiTector Inspection Kits
- DeFelsko PosiTector SST
- DeFelsko PosiTest AT Adhesion Testers
- DeFelsko PosiTest DFT
- DeFelsko PosiTest PC
- DeFelsko PosiTest Pull-off Gages
- Holiday Detectors
- Oven Temperature Data Loggers
- Dial Thickness Gauges
- Dynamometers Tension Load Cells
- Force and Torque Measurement
- Cap Torque Testers
- Digital Force Gages
- Force Gauge Attachments
- Force Gauge Attachments (Imada)
- Force Gauge Attachments (Mark10)
- Force Gauge Attachments (Shimpo)
- Force Sensors
- Force Test Systems
- Mechanical Force Gauges
- Peel Testers
- Physical Therapy & Strength Test
- Test Stands, Mechanical
- Test Stands, Motorized
- Torque Calibration Equipment
- Torque Screwdrivers
- Torque Sensors
- Torque Testers
- Torque Transducers, Rotary
- Torque Wrenches
- Wire Terminal Pull Testers
- Hardness Testers and Durometers
- Horiba Water Quality Meters
- Horiba LAQUAtwin Compact Meters
- Horiba LAQUAact Portable Meters
- Horiba LAQUA Benchtop Meters
- Horiba LAQUA Conductivity Cells
- Horiba LAQUA DO Electrodes
- Horiba LAQUA Ion Electrodes
- Horiba LAQUA pH Electrodes
- Horiba Multiparameter Water Quality Meter
- Horiba Oil Content Monitor - Analyzer
- Horiba Environmental Radiation Monitor Radi
- Industrial Maintenance
- Magnetic Particle Inspection
- Moisture Meters
- Moisture Inspection Kits
- Moisture Meters by Manufacturer
- Moisture Meters for Agriculture
- Moisture Meters for Building Inspection
- Moisture Meters for Flooring & Wood Products
- Moisture Meters for Water Damage Restoration
- Moisture Meters for Leather
- Moisture Meters for Paper
- Moisture Meters for Temperature / RH
- Moisture Meters for Boats
- Textile Moisture Meters
- Biomass Moisture Meters
- Other Moisture Meters
- Pit Gauges
- Stroboscopes and Tachometers
- Surface Profile
- Temperature-Humidity Measurement
- Tension Meters
- Textile Test Instruments
- Ultrasonic Testing Equipment
- Coating Inspection
-
Shop by Brand
- Checkline
- DeFelsko
-
Coating Inspection
- Coating Thickness Gauges
- DeFelsko PosiTest AT Adhesion Testers
- Oven Temperature Data Loggers
- DeFelsko PosiTector SST
- Coatings, Miscellaneous
- DeFelsko PosiTector 6000
- DeFelsko PosiTector 200
- DeFelsko PosiTector Inspection Kits
- DeFelsko PosiTest PC
- DeFelsko PosiTest Pull-off Gages
- DeFelsko PosiTest DFT
- Holiday Detectors
- Ultrasonic Testing Equipment
- Industrial Maintenance
- Temperature-Humidity Measurement
- Hardness Testers and Durometers
- Moisture Meters
- Surface Profile
-
Coating Inspection
- PCWI
- Imada
- Tramex
- Western Instruments
- Mark-10
- ElektroPhysik
- Micro-Metrics
- Dakota Ultrasonics
- Shimpo
- Paint Test Equipment
- Tensitron
- Optex
- Dillon
- Rex
- AWS
- Mountz
- Hoto
- Honigmann
- Time
- Compact
- Humimeter
- Testex
- Zitec
- Asker
- Alluris
- Horiba
- Industrial Maintenance
- Temperature-Humidity Measurement
-
Horiba Water Quality Meters
- Horiba LAQUAtwin Compact Meters
- Horiba LAQUA Benchtop Meters
- Horiba LAQUAact Portable Meters
- Horiba LAQUA pH Electrodes
- Horiba LAQUA Ion Electrodes
- Horiba LAQUA DO Electrodes
- Horiba LAQUA Conductivity Cells
- Horiba Oil Content Monitor - Analyzer
- Horiba Environmental Radiation Monitor Radi
- Horiba Multiparameter Water Quality Meter
- G.A.L. Gage Co.
- Straightpoint
- Schaller
- Hildebrand
- InnovaTest
- HTM
- Deumo
- AW-Lake
- Digitens
- Delmhorst
- Seekonk
- Microtronics SRL
- Hans-Schmidt
- Wagner Meters
- Mitutoyo
- Erichsen
- Aqua-Boy
- Gedore
- Bareiss
- NDT
- Checkline
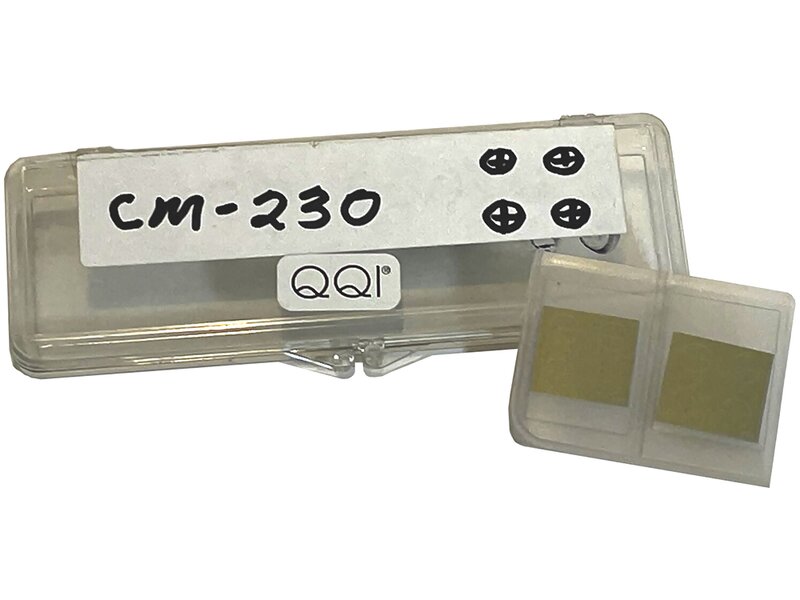
Western Instruments QQIS-3C2-234 QQI’s Quantitative Quality Indicators (3 Circles)
See More Magnetic YokesWestern Instruments QQIS-3C2-234 QQI’s Quantitative Quality Indicators (3 Circles)
This product has been discontinued


Contact US
ABQ Industrial
21 Waterway Avenue
Suite 300
The Woodlands, TX 77380
U.S.A.
21 Waterway Avenue
Suite 300
The Woodlands, TX 77380
U.S.A.
Tel: 1-888-275-5772
Tel: 1-281-516-9292
Fax: 1-866-234-0451
E-Mail: info@abqindustrial.net
Tel: 1-281-516-9292
Fax: 1-866-234-0451
E-Mail: info@abqindustrial.net
We Accept

Copyright © 2025 Abq Industrial


